How to Sew French Seams - A Step-by-Step Tutorial
French seams are a beautiful, professional way to finish seams, ensuring a clean, durable, and neat result. Whether you’re working with delicate fabrics or creating a couture garment, French seams are the perfect choice to avoid frayed edges. This tutorial will guide you through the process of sewing French seams, giving your project a polished, finished look that will impress.
What You’ll Need
Before you get started, gather the following materials:
- Fabric (light to medium-weight fabrics like cotton, silk, or linen work best)
- Thread (matching or contrasting)
- Sewing machine
- Scissors or rotary cutter
- Pins or fabric clips
- Iron & ironing board
Optional: French seam foot (Not used in this tutorial, but it can make the process easier)
Step 1: Preparing Your Fabric
- Pre-wash and Iron Your Fabric: Wash and iron your fabric to remove any wrinkles and prevent future shrinkage.
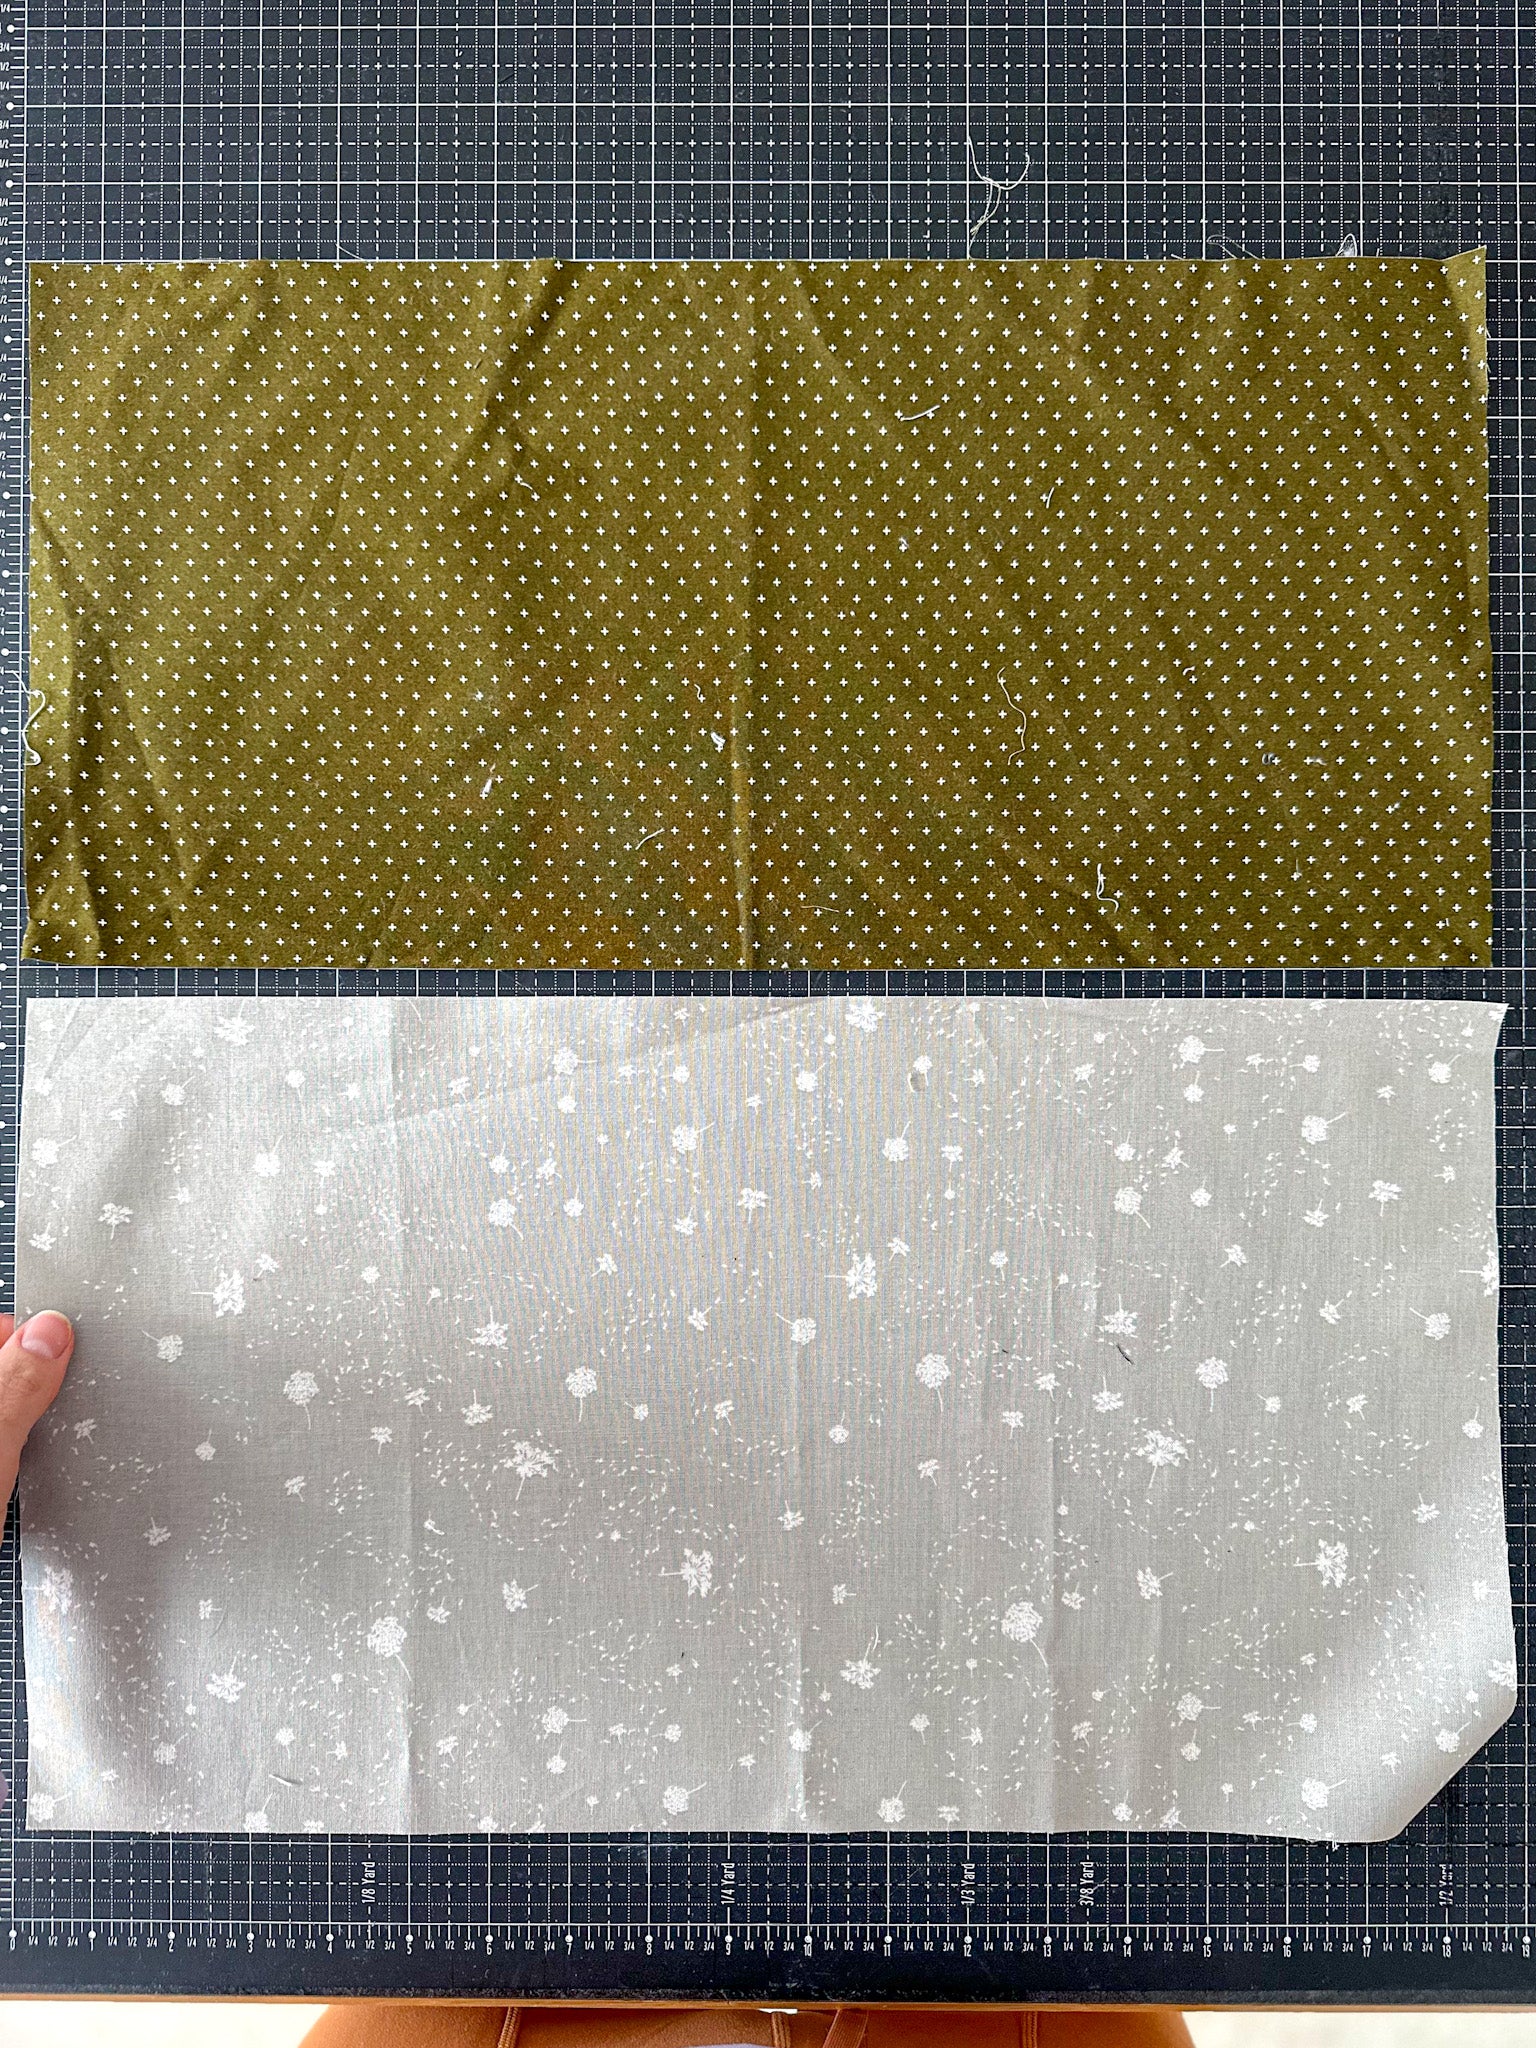
- Cut Your Fabric Pieces: Cut out your fabric pieces according to your pattern instructions. Be sure to leave a bit of extra seam allowance (at least ¼ inch) to accommodate the French seam.
Step 2: Sew the First Seam (WRONG Sides Together)
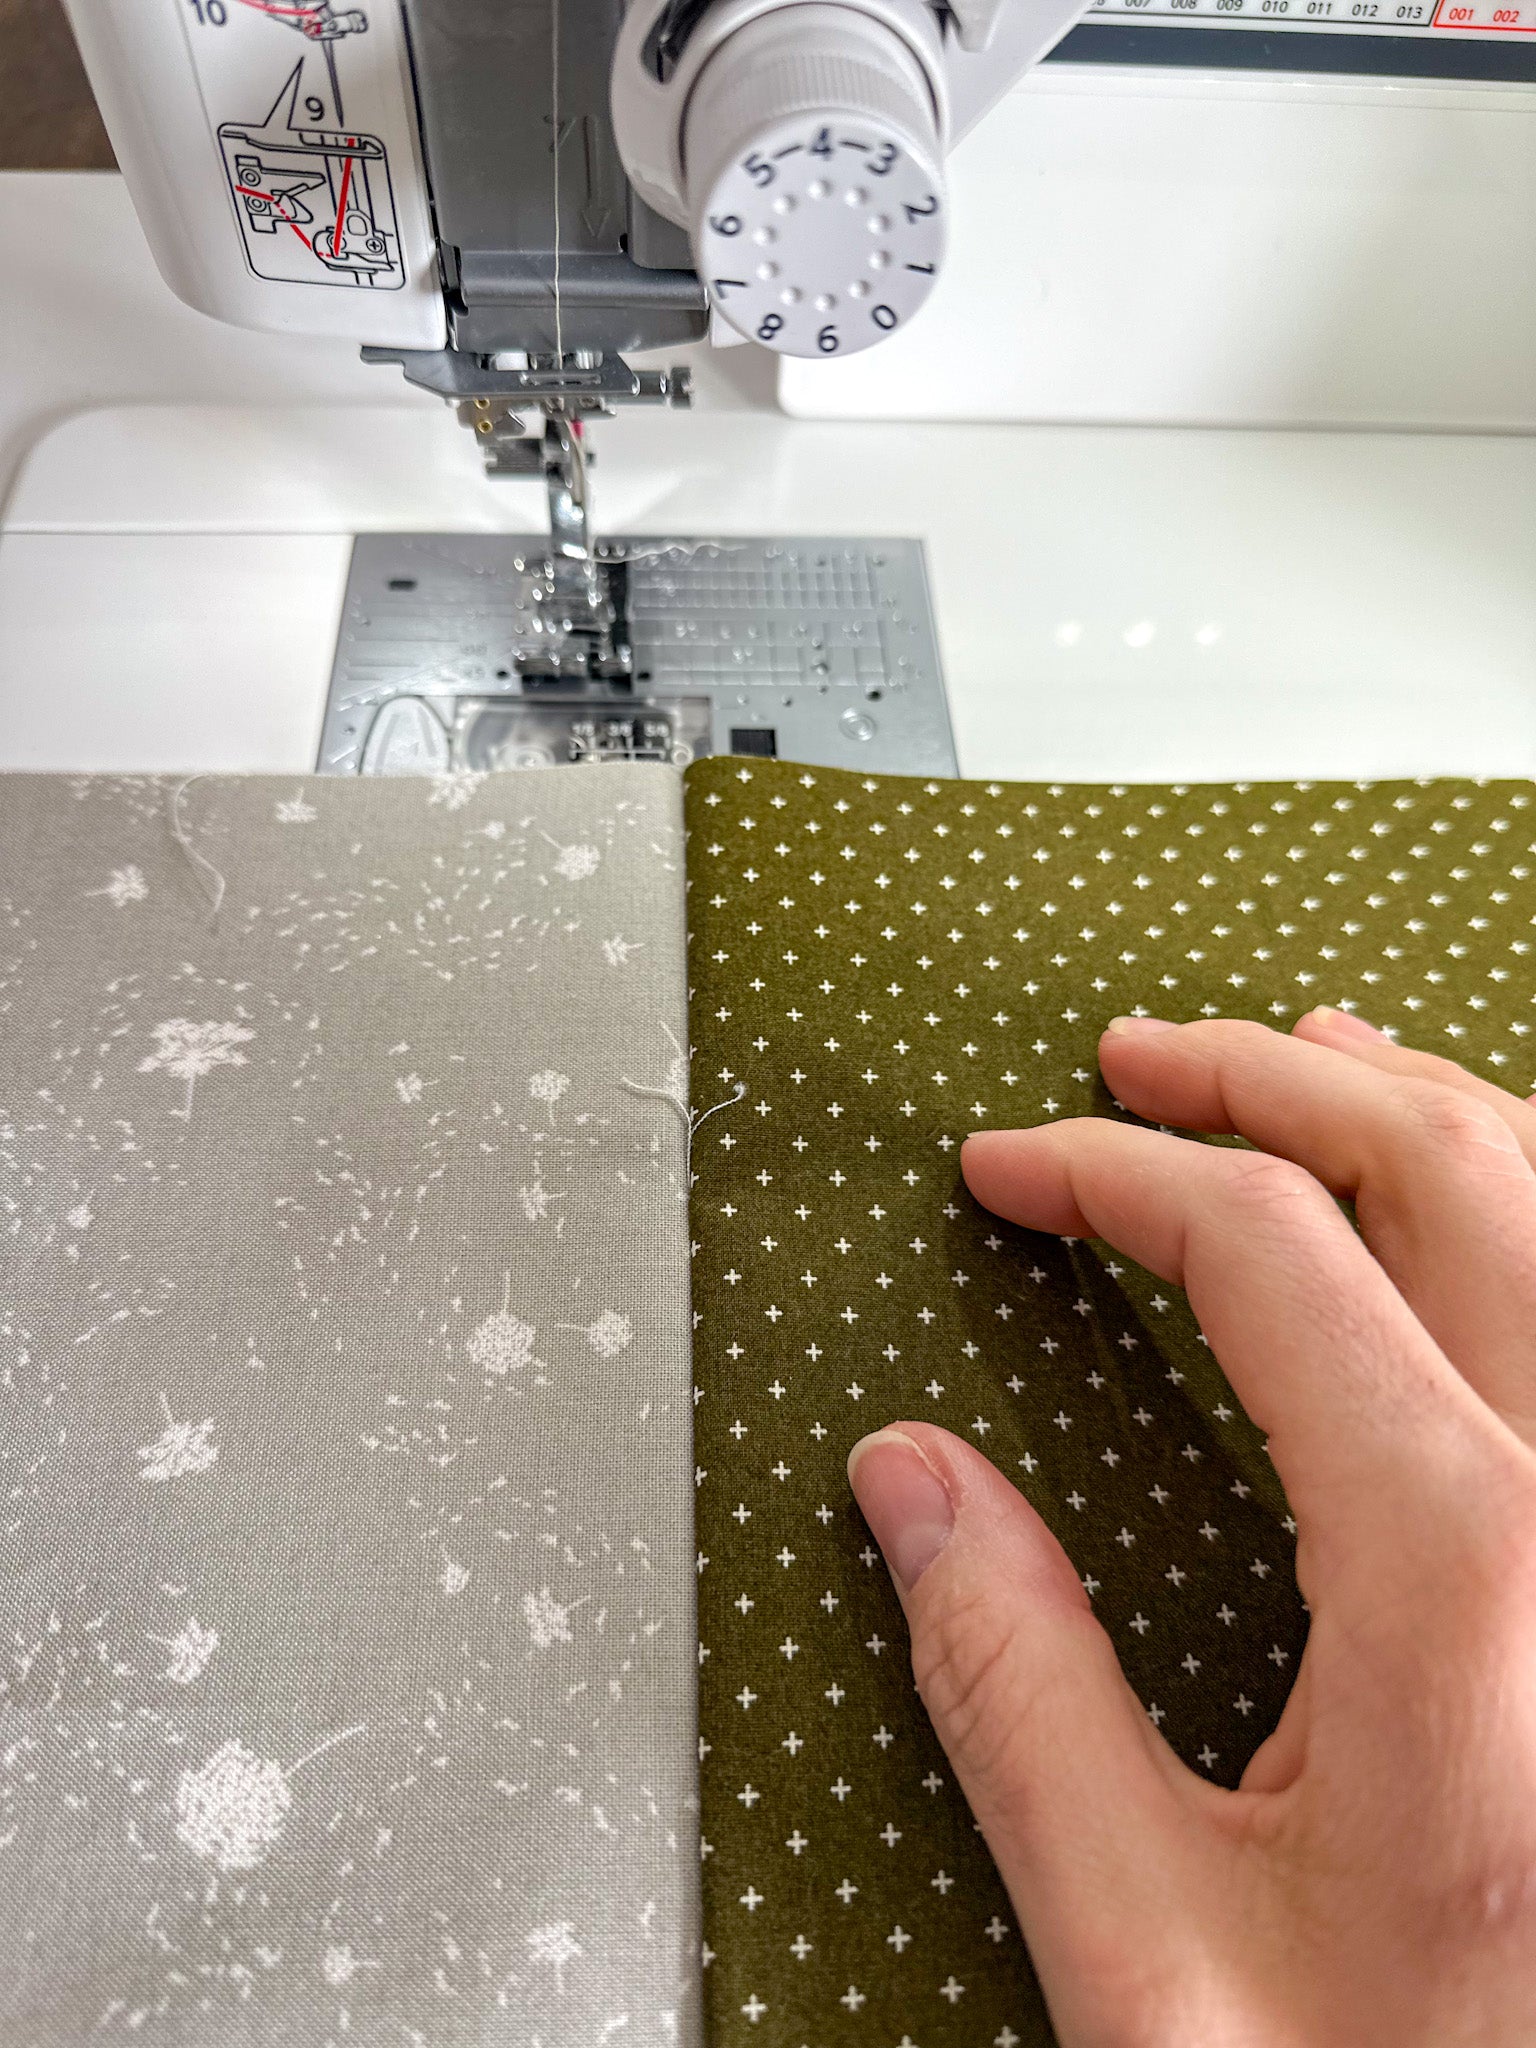
- Place the Fabric WRONG Sides Together: Lay your fabric pieces with the WRONG sides (the back side of the fabric) facing each other. This is key for French seams, as you’ll be enclosing the raw edge inside the final seam.
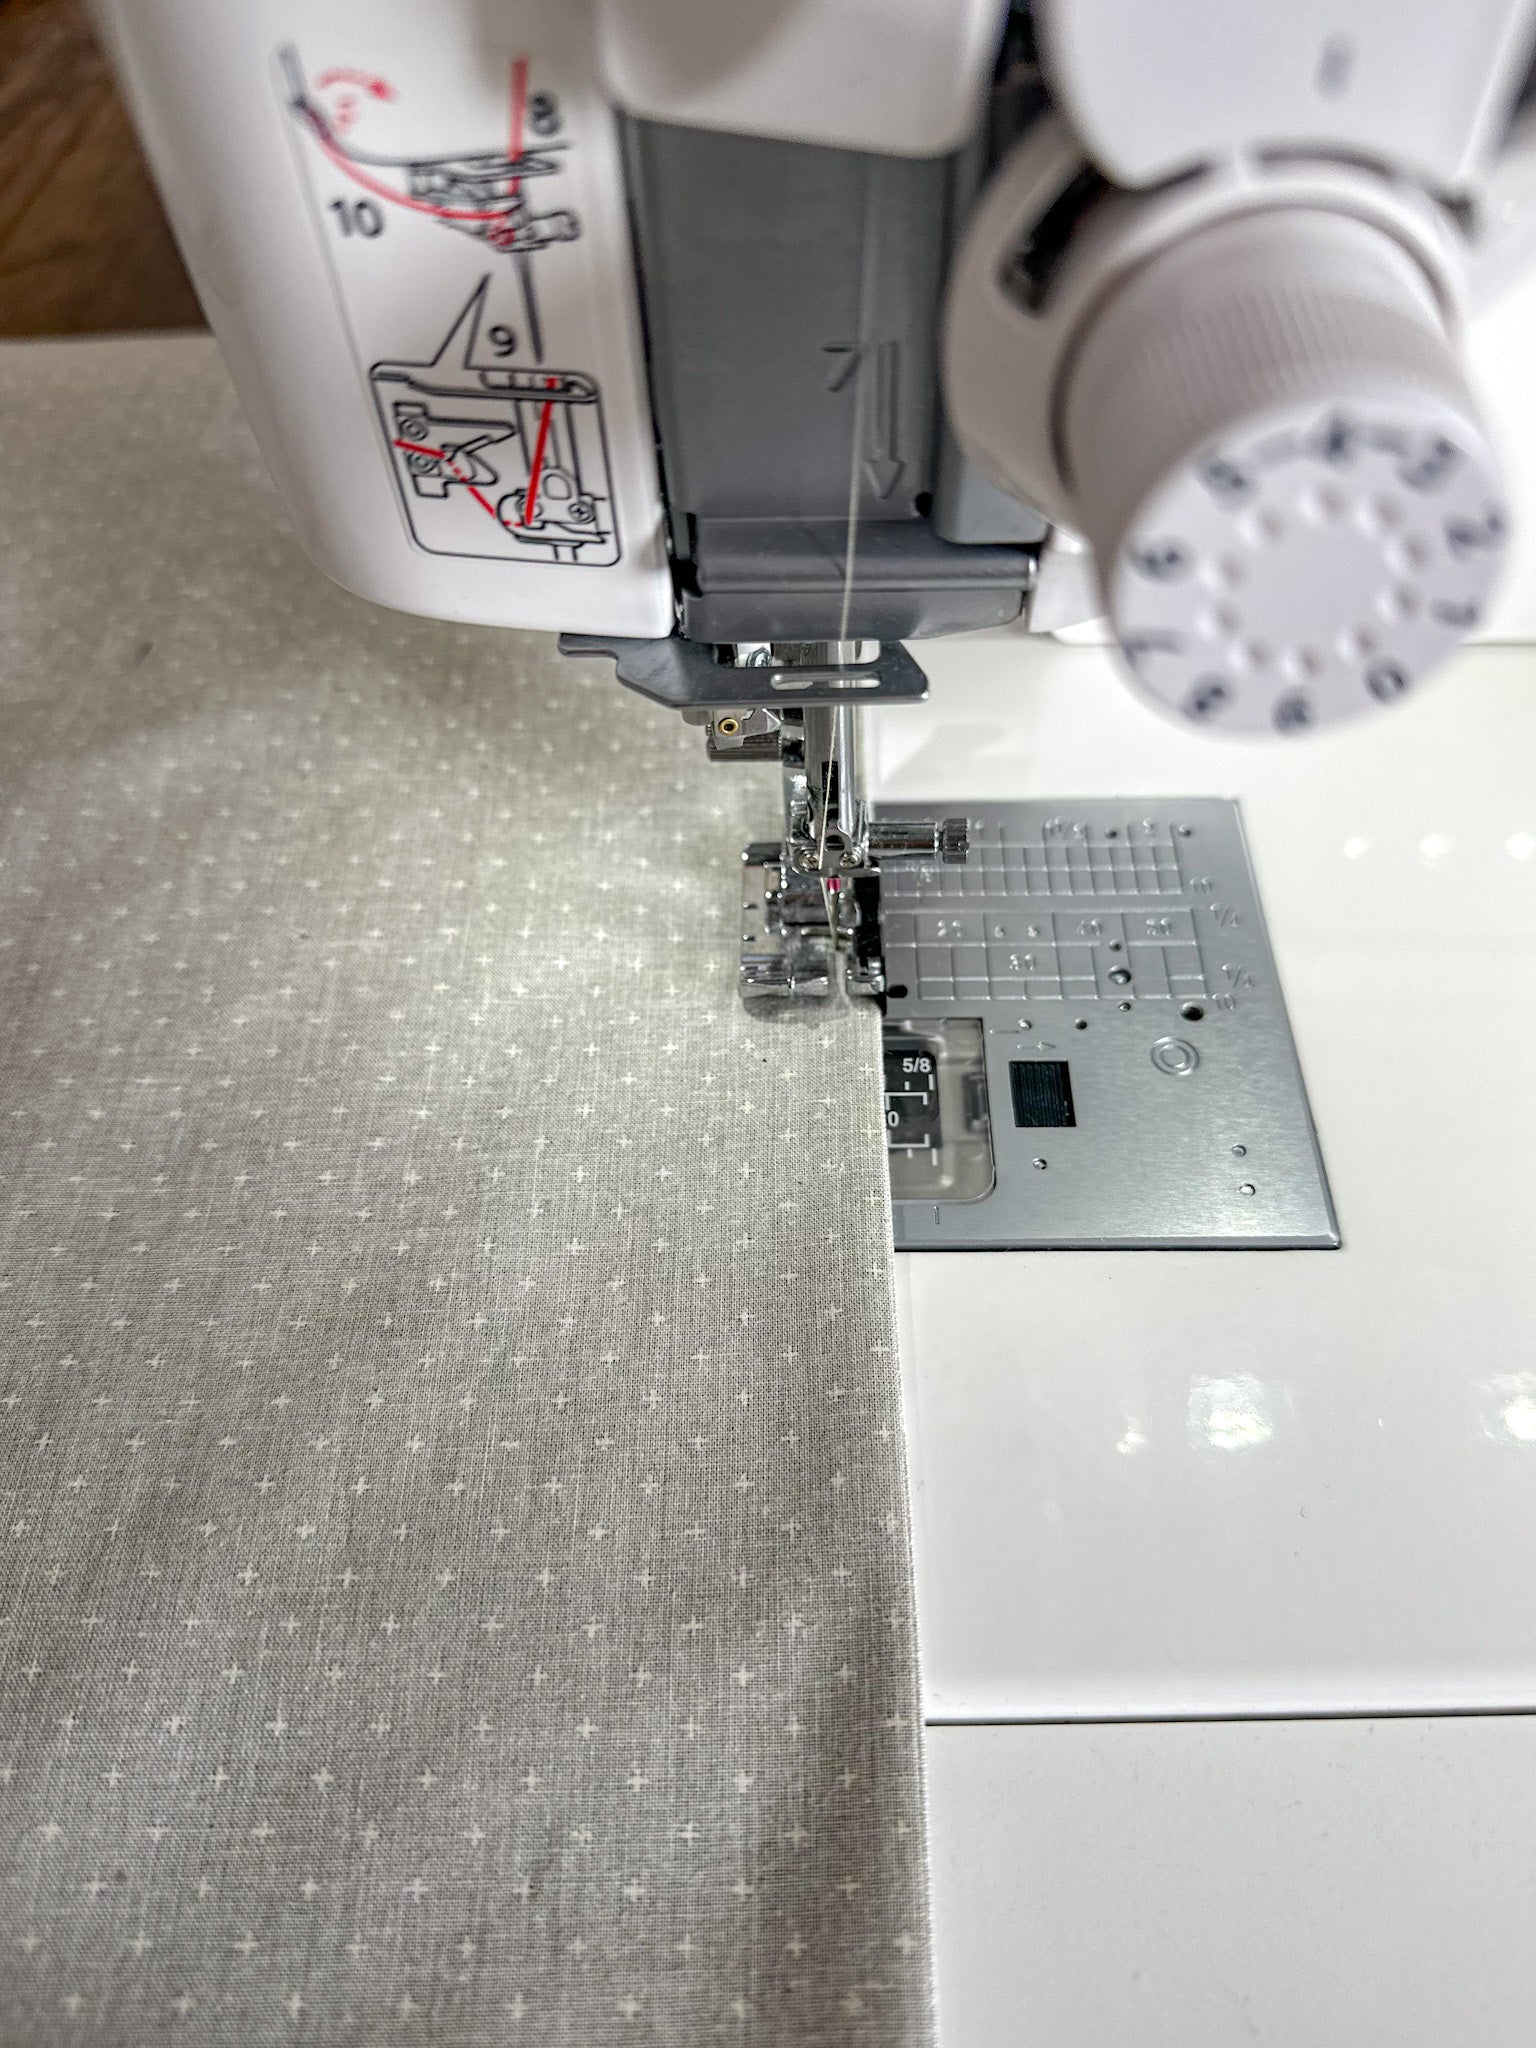
- Stitch the First Seam: Using a ¼ inch seam allowance, sew along the seam line. This will be the first seam.
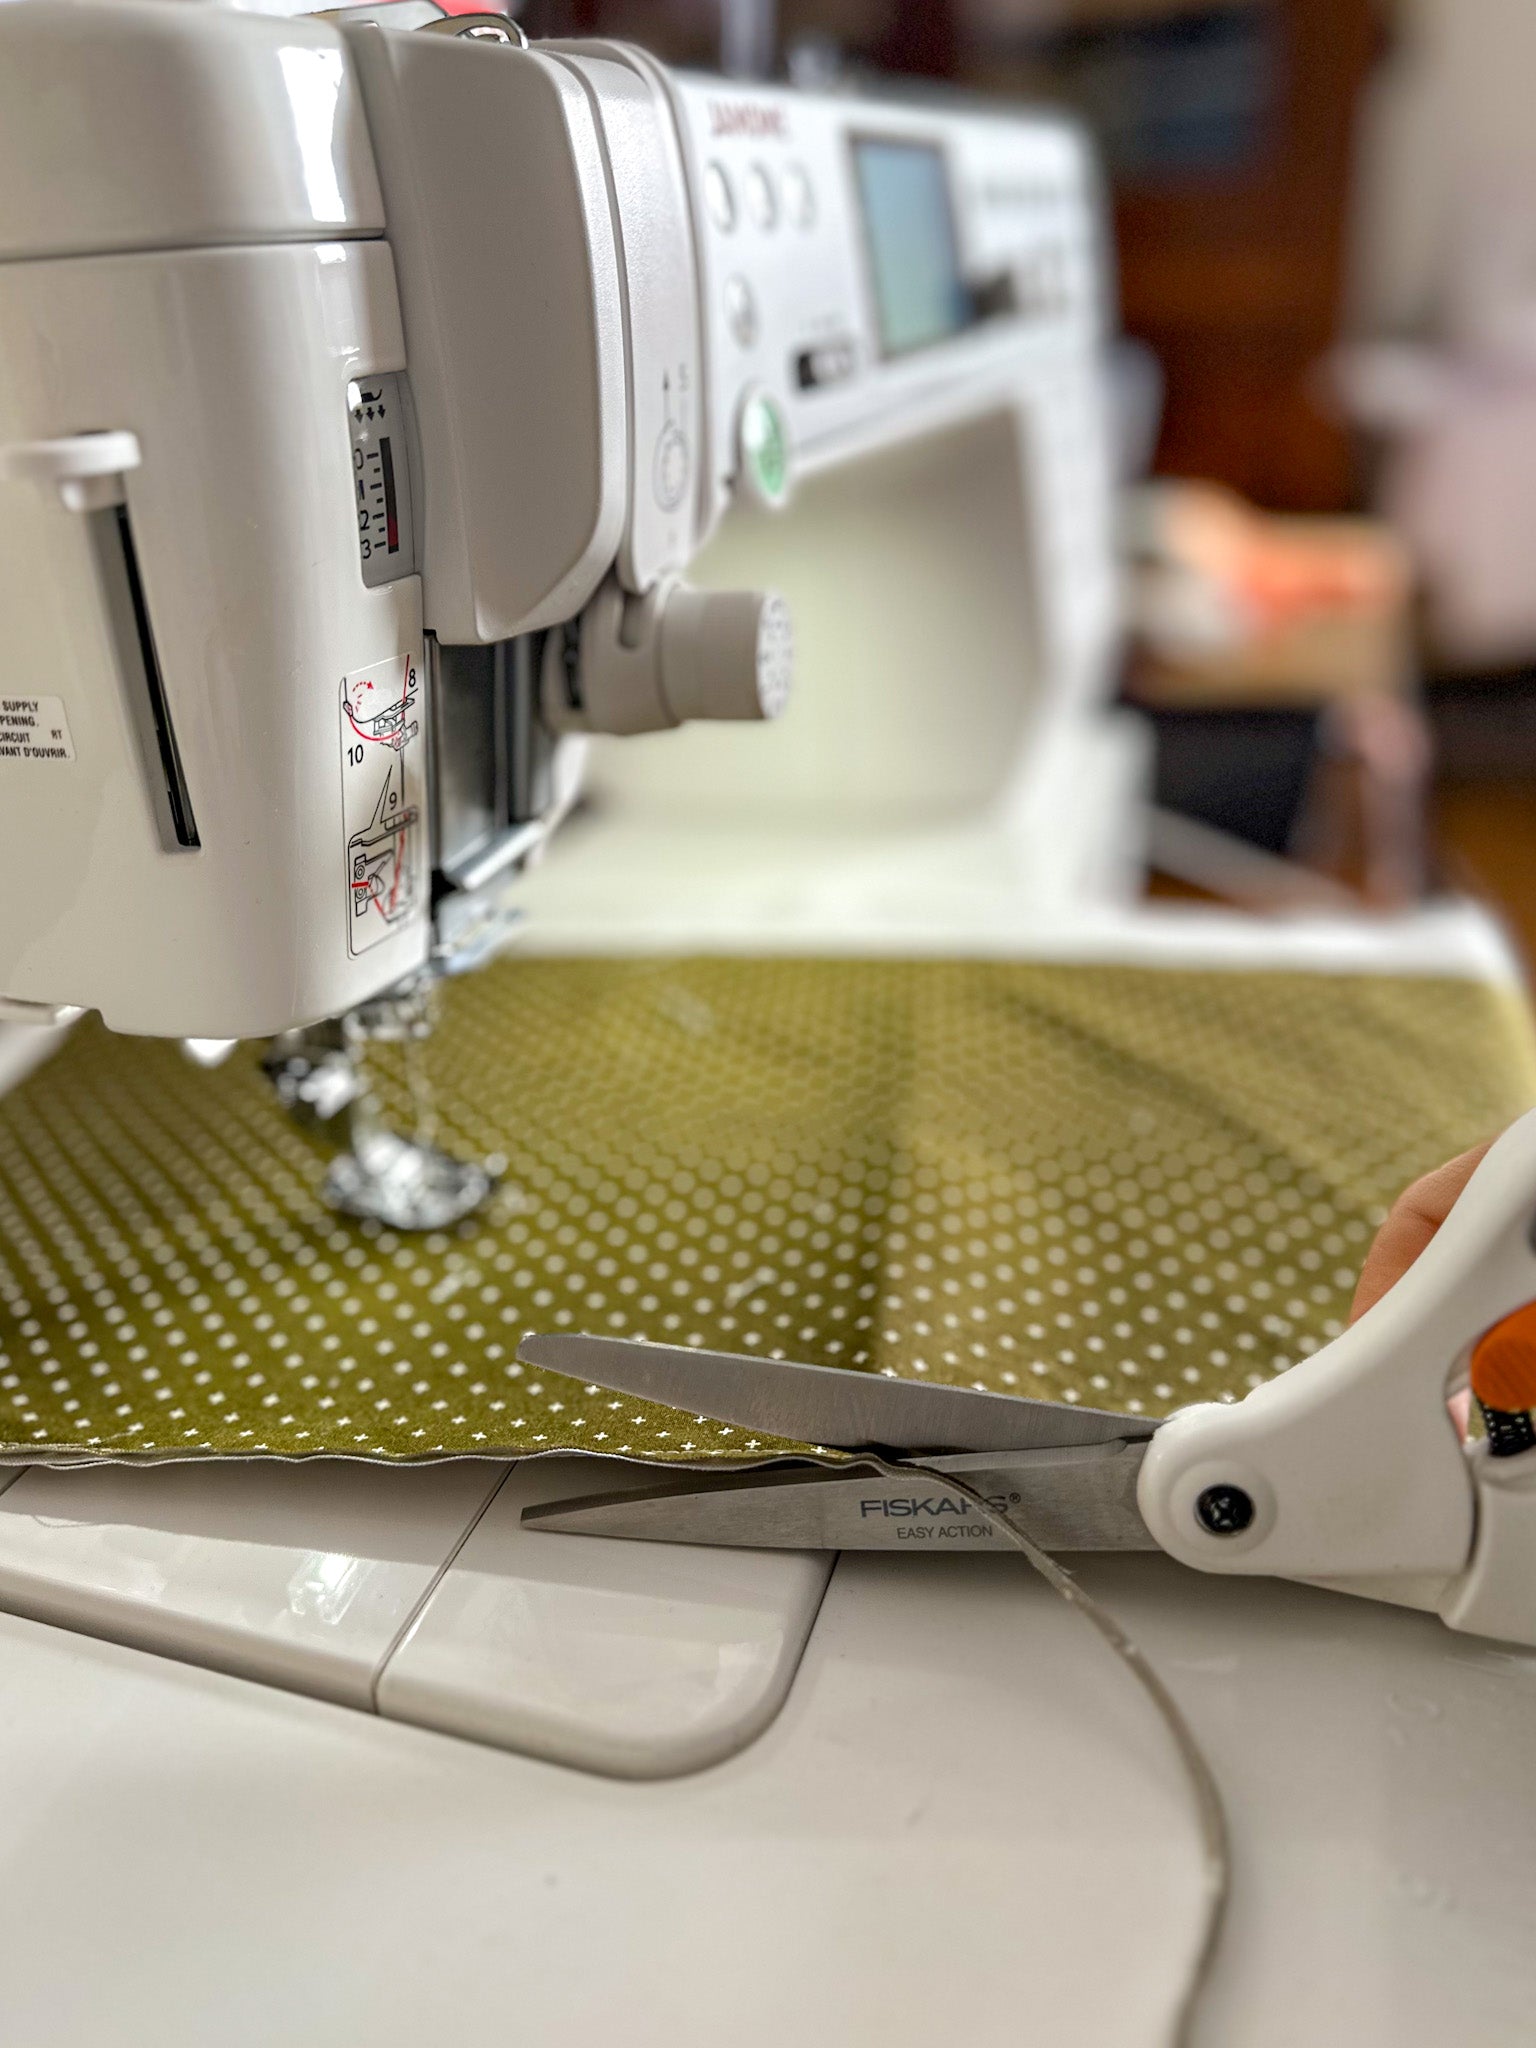
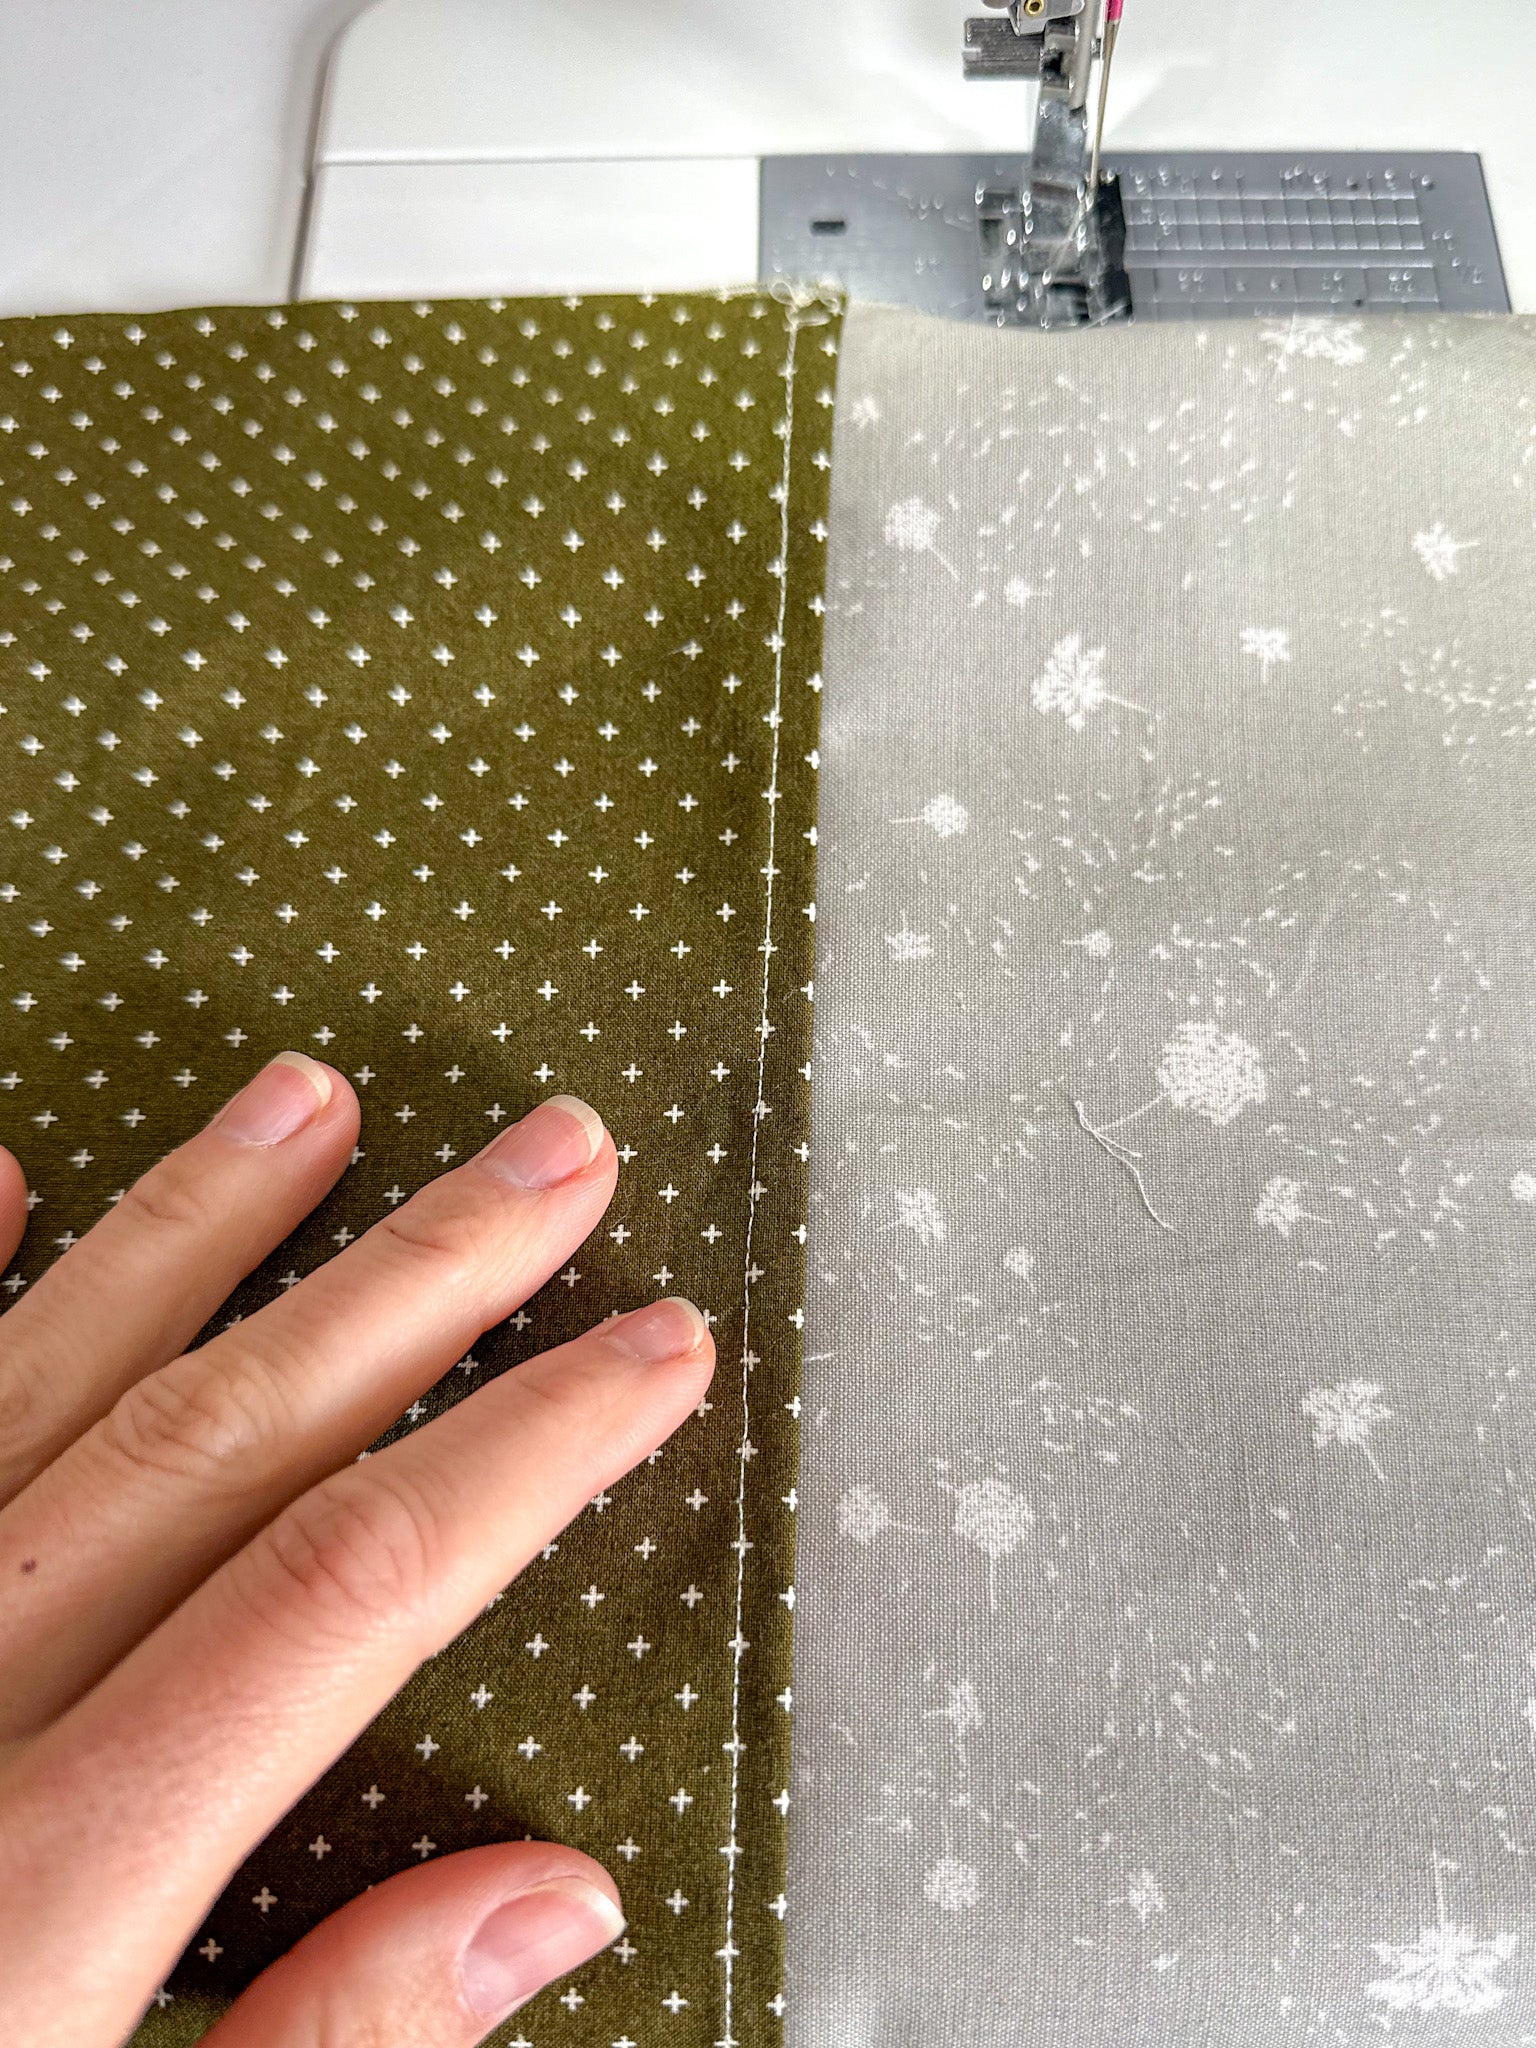
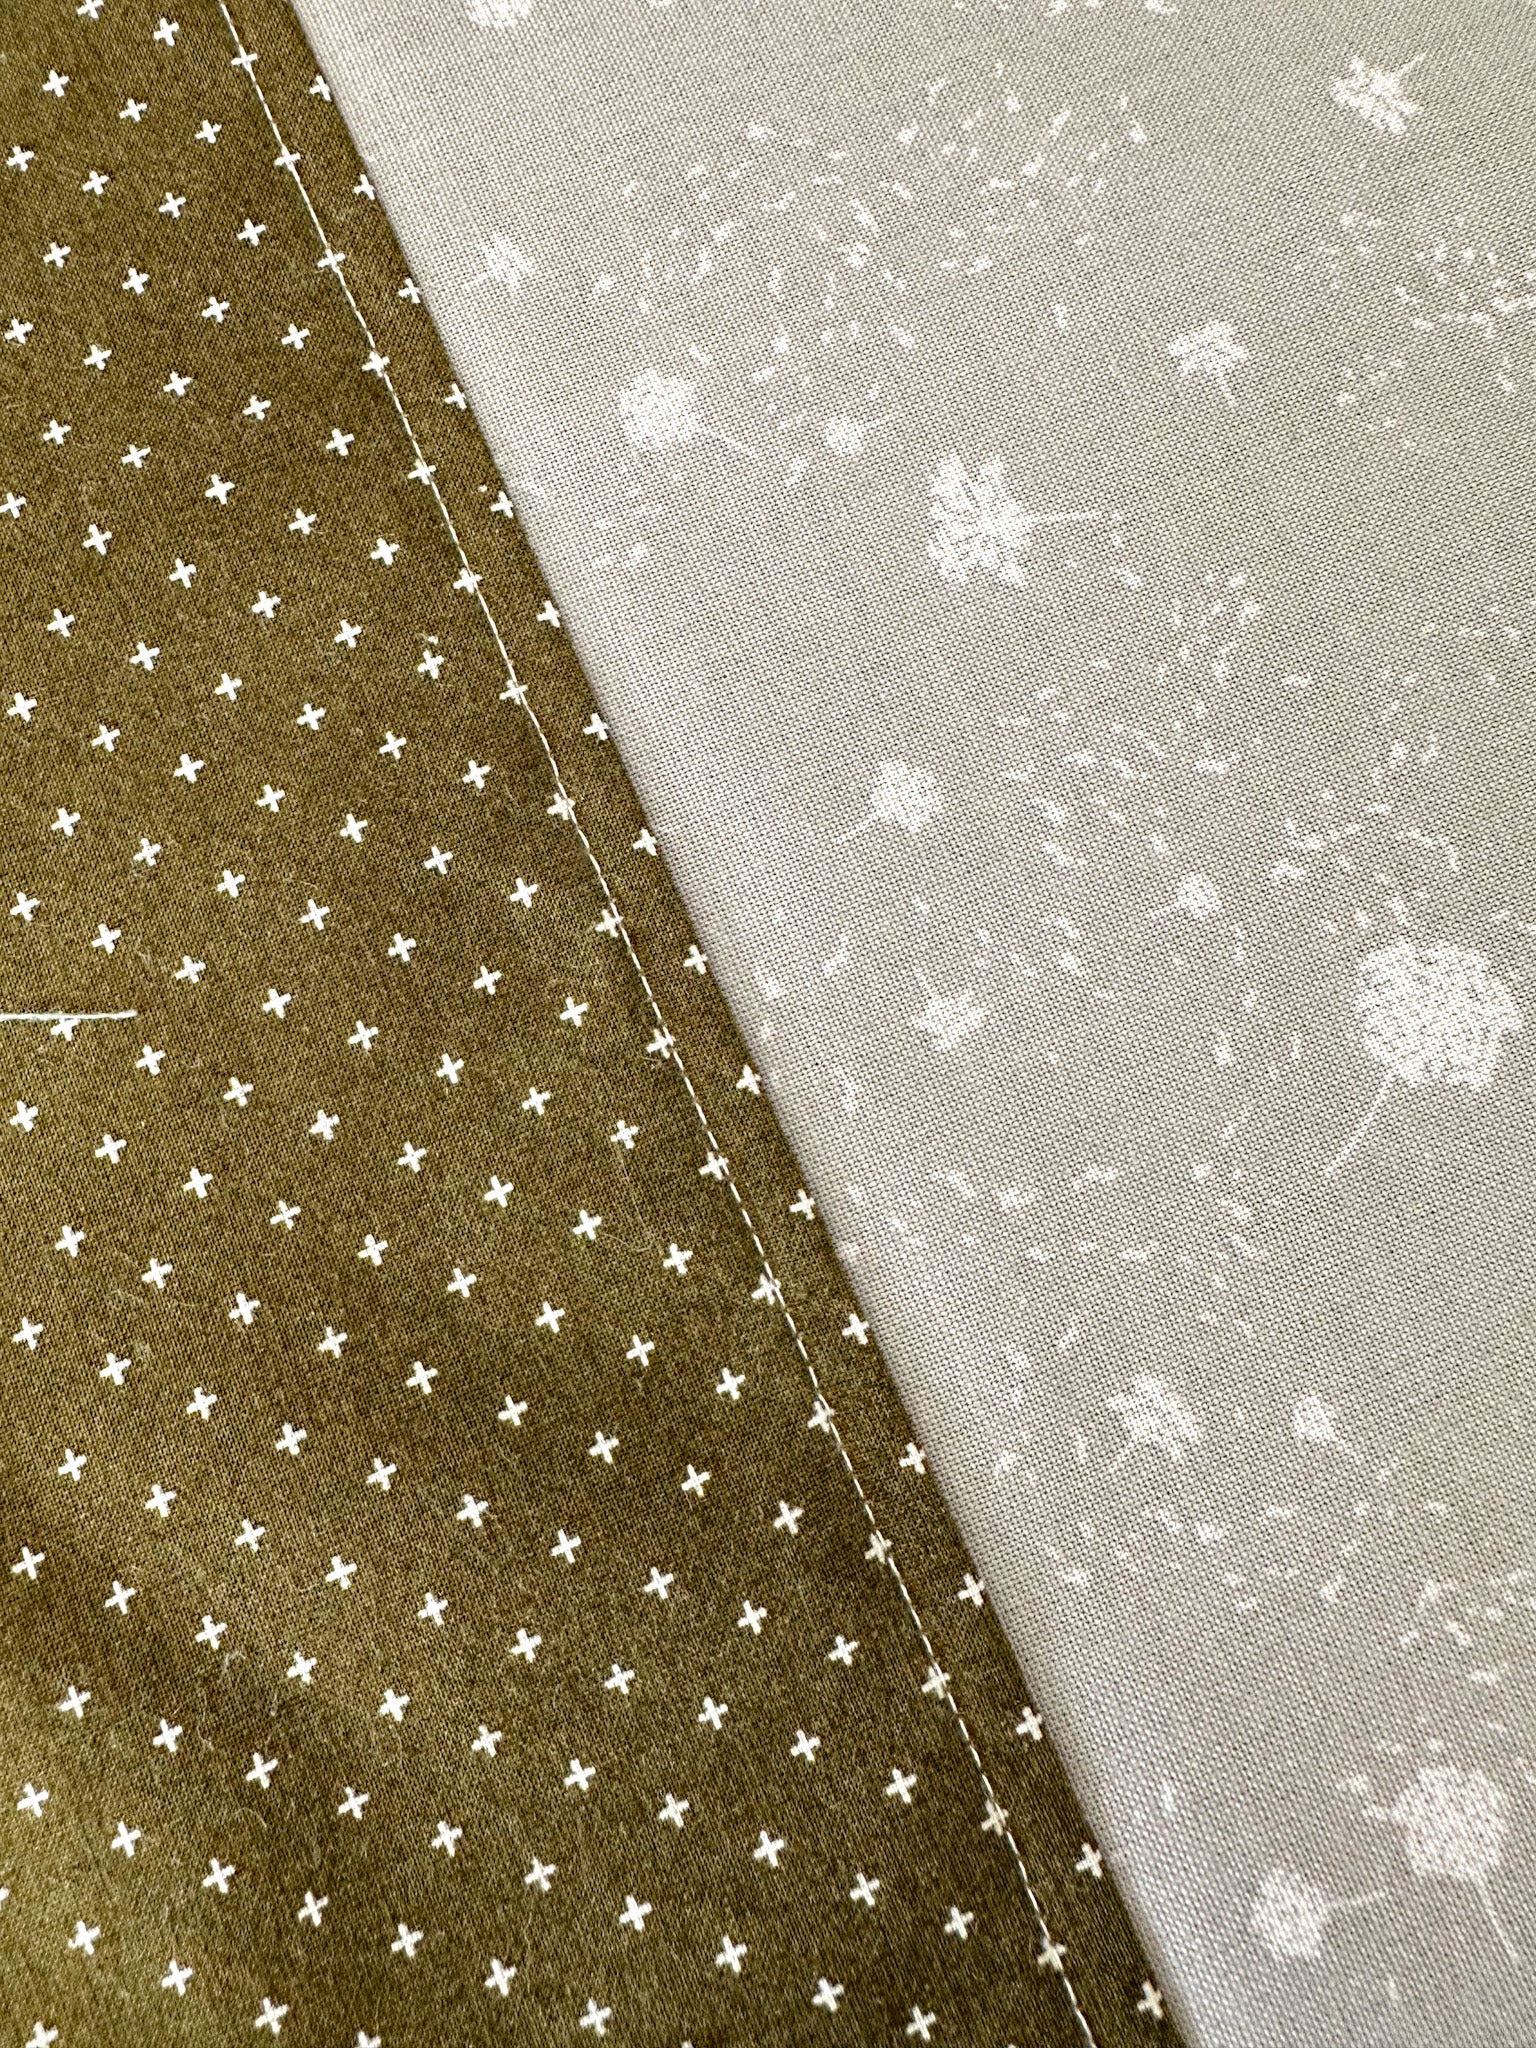
- Trim the Seam Allowance: After sewing, trim the seam allowance to about ⅛ inch. This helps reduce bulk and ensures a smooth, clean finish when you fold the fabric in the next step.
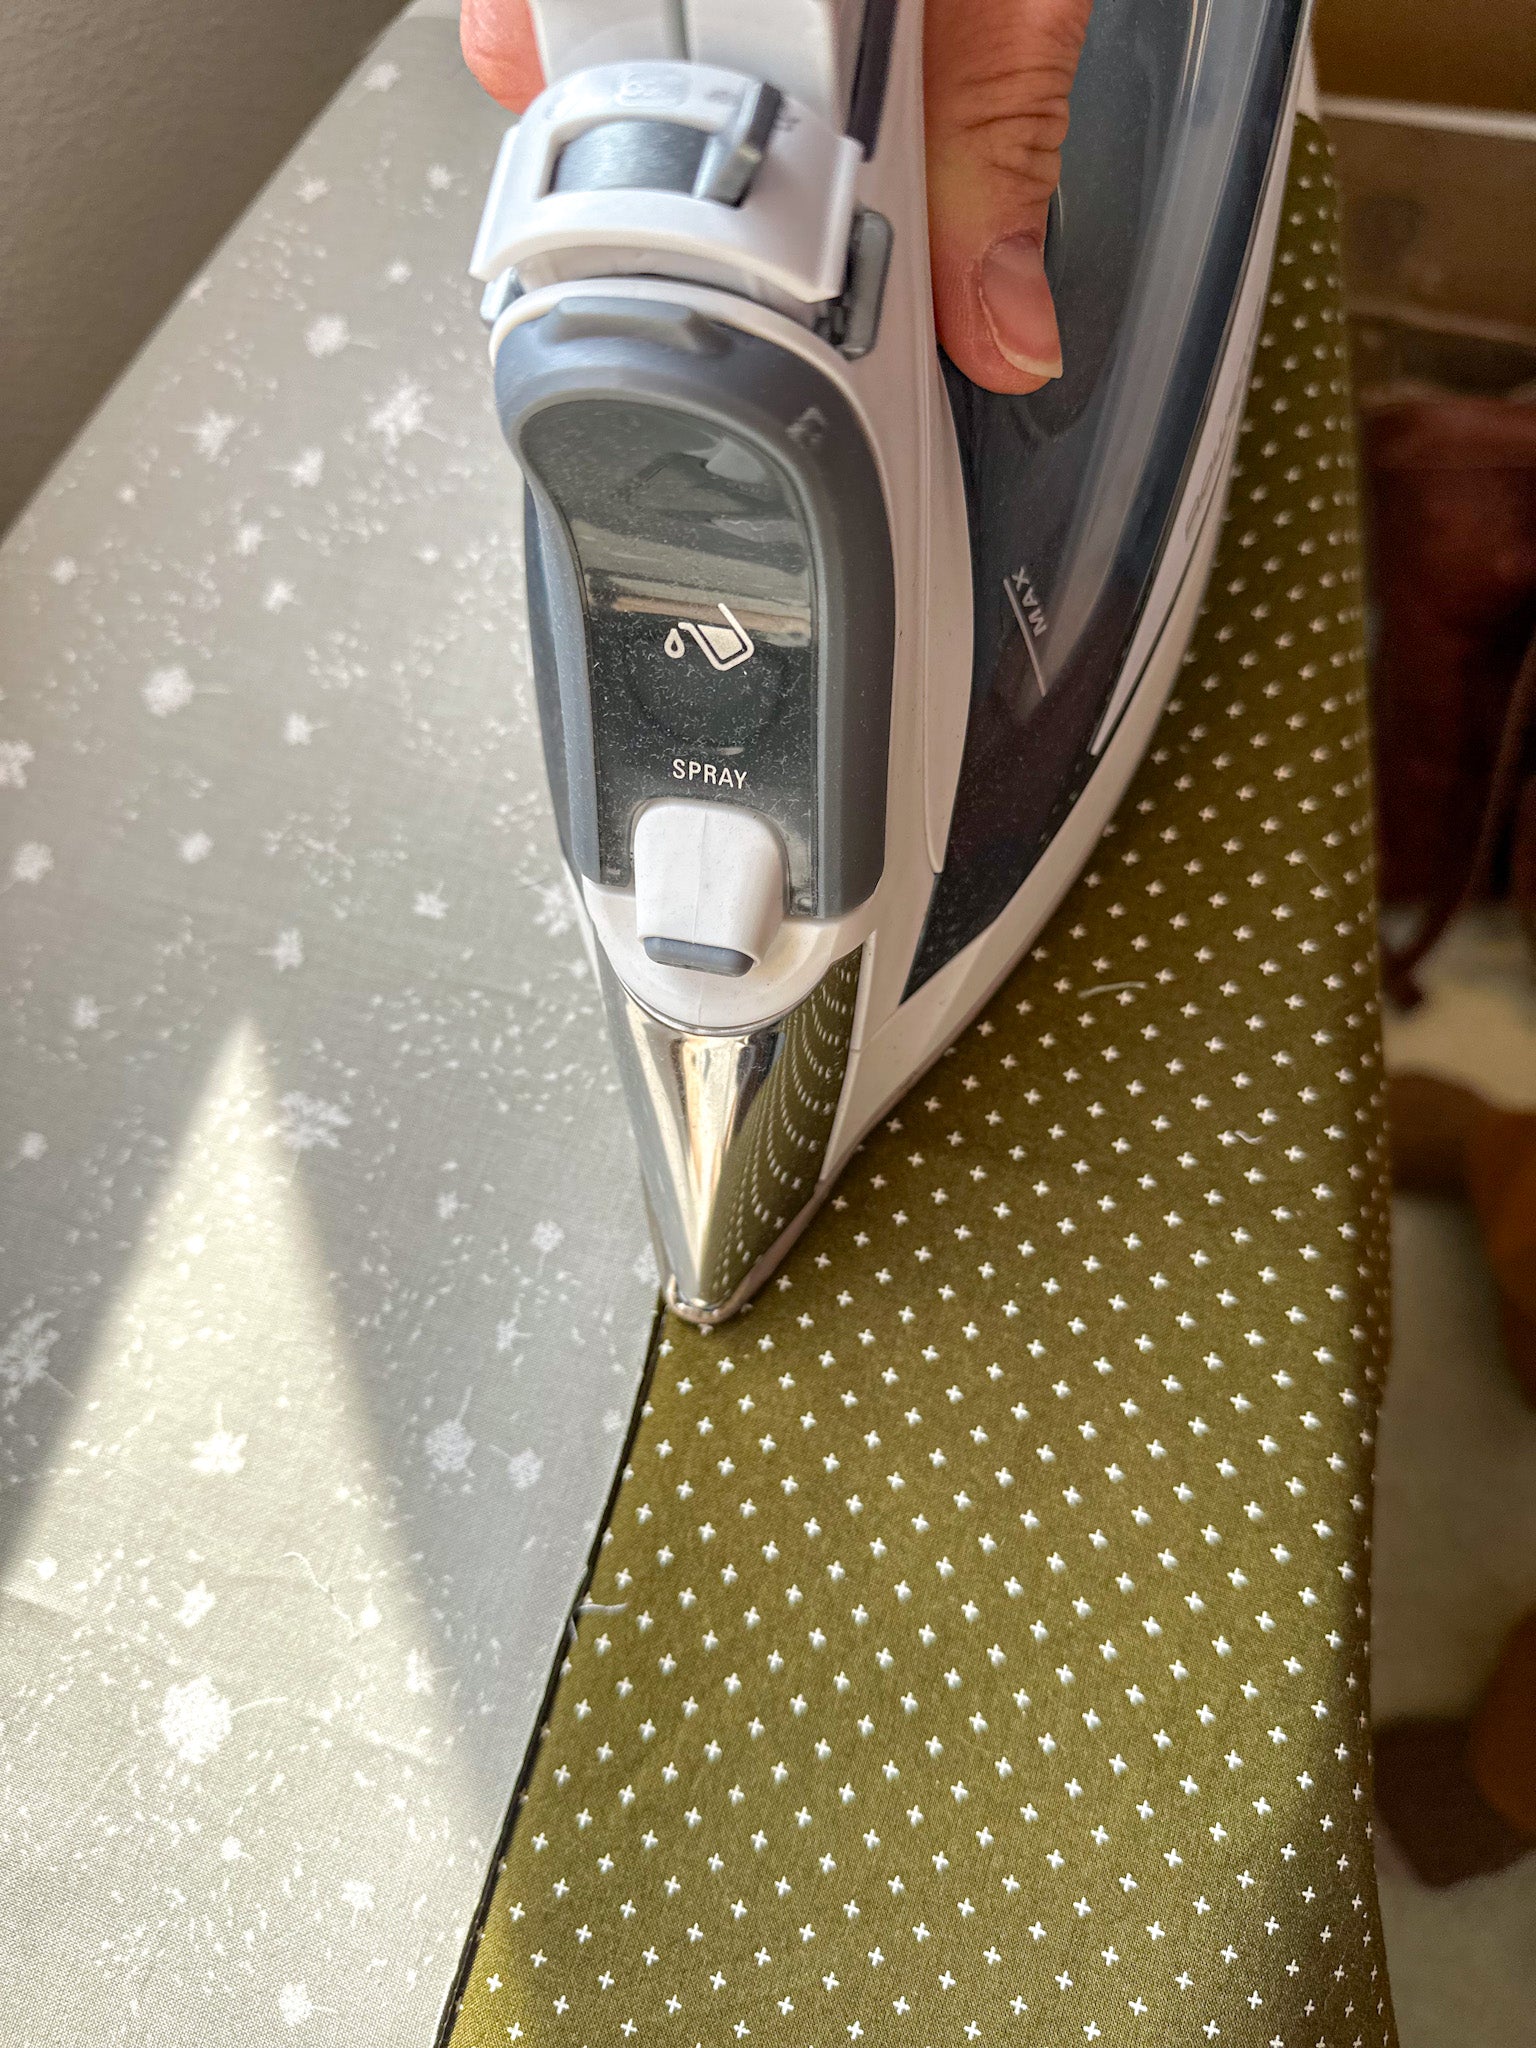
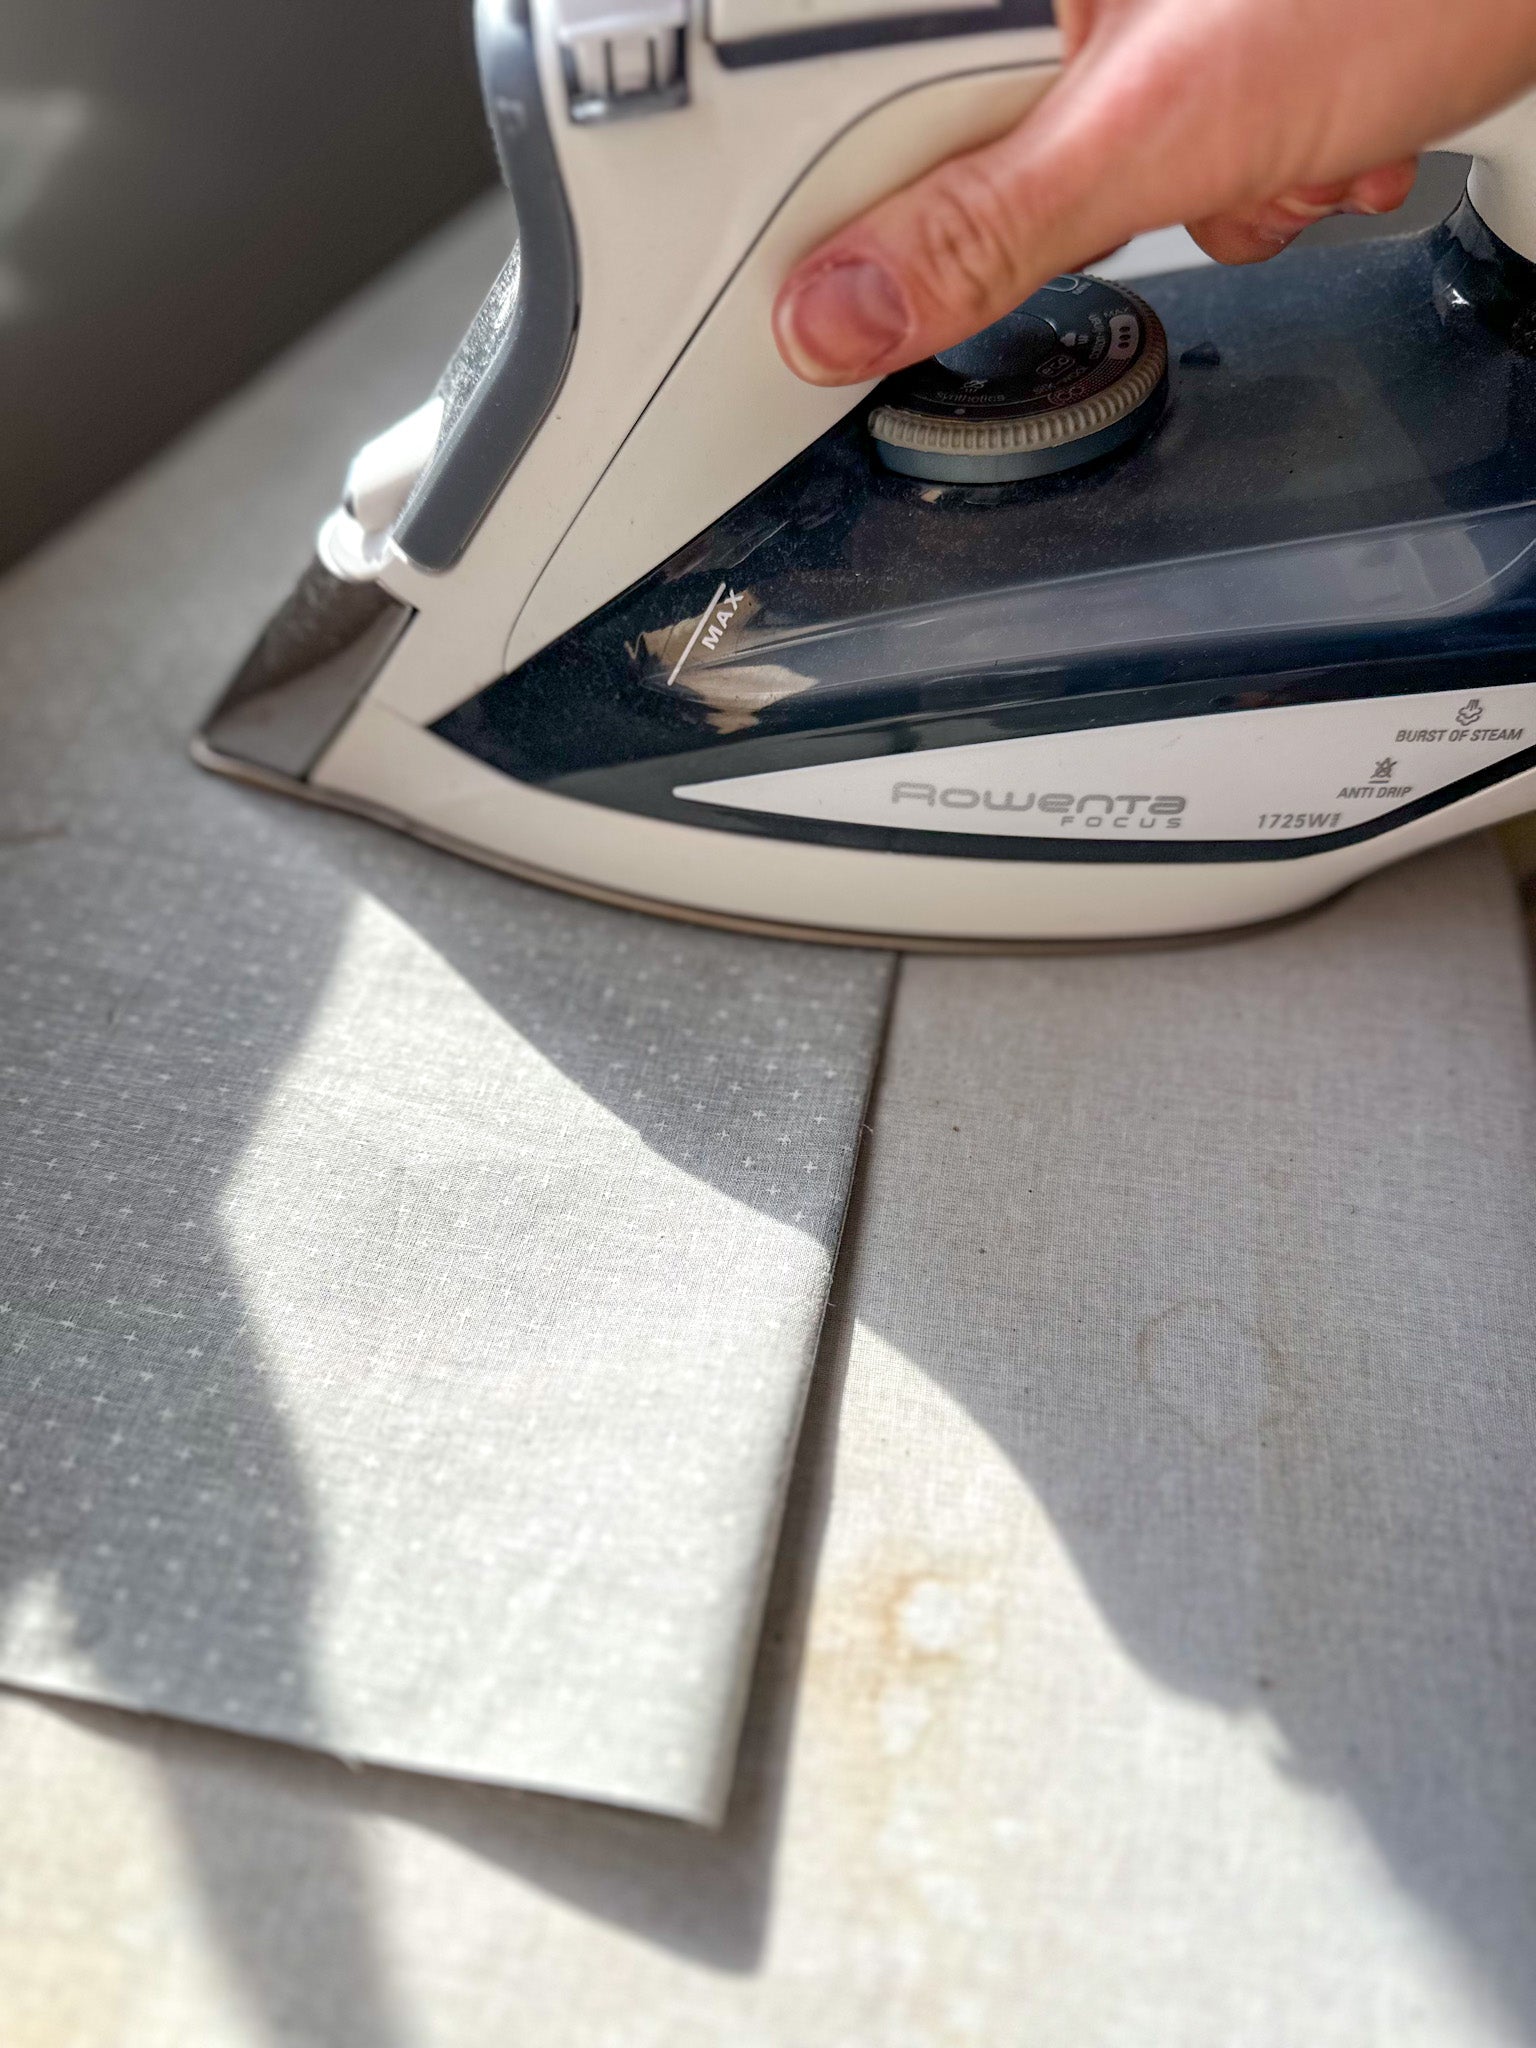
- Press the Seam Open: Press the first seam flat with your iron. This will help reduce bulk and make it easier to fold the fabric neatly in the next step.
Step 3: Enclose the Raw Edge (Right Sides Together)
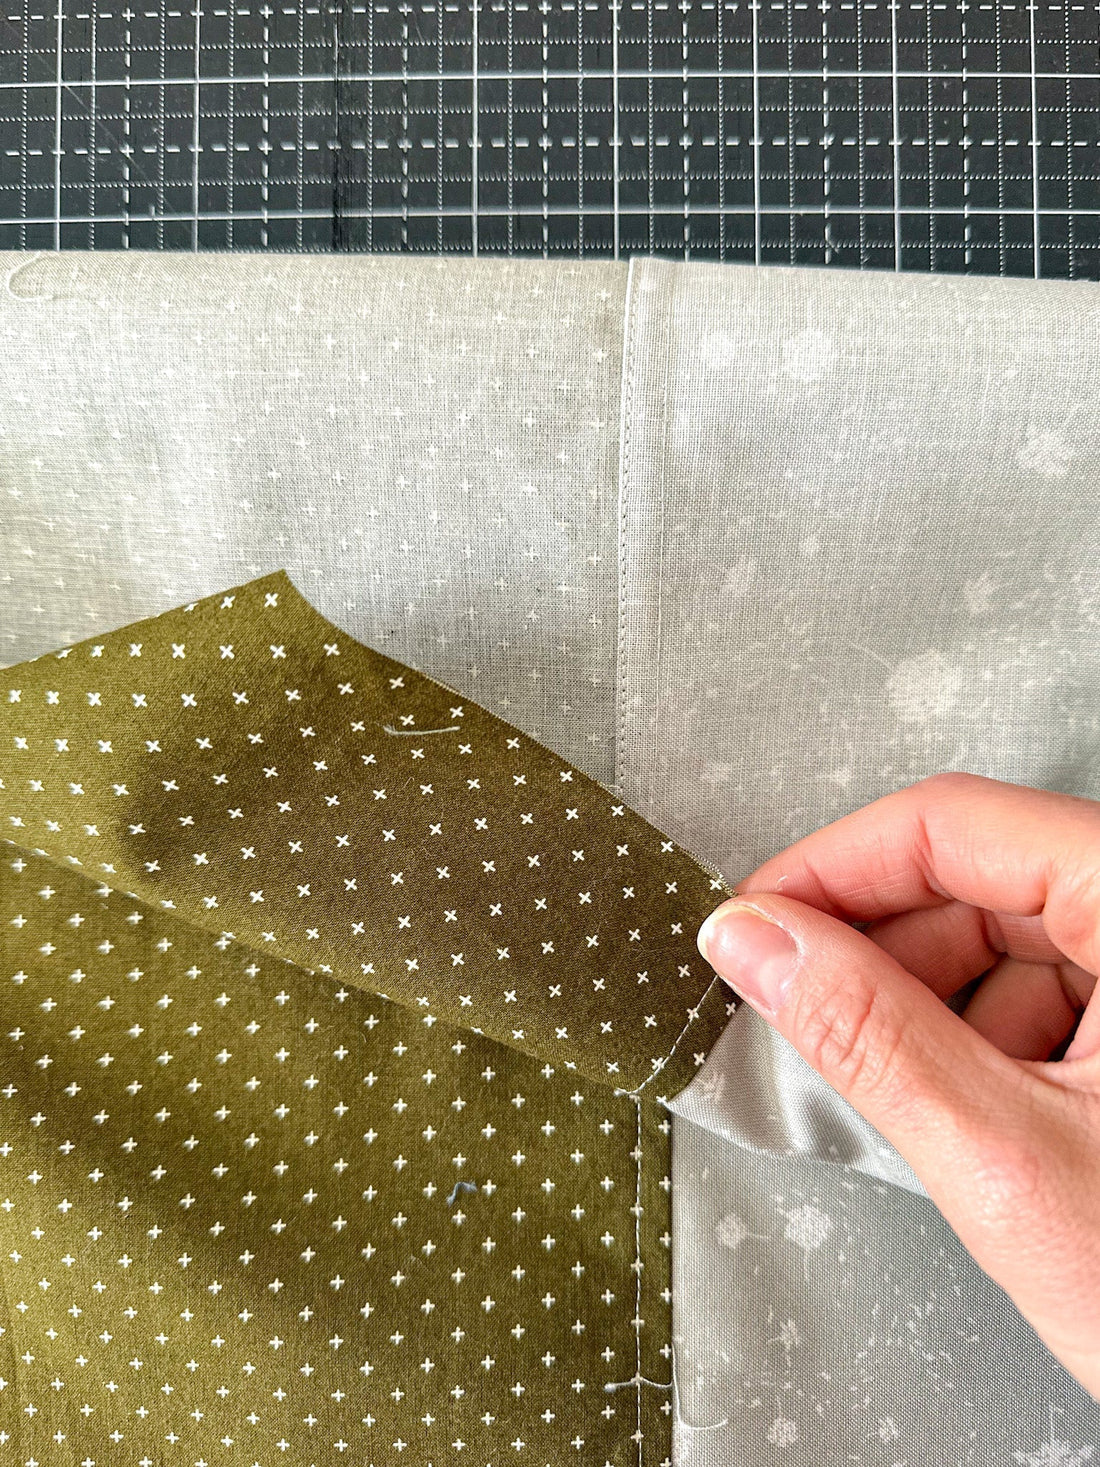
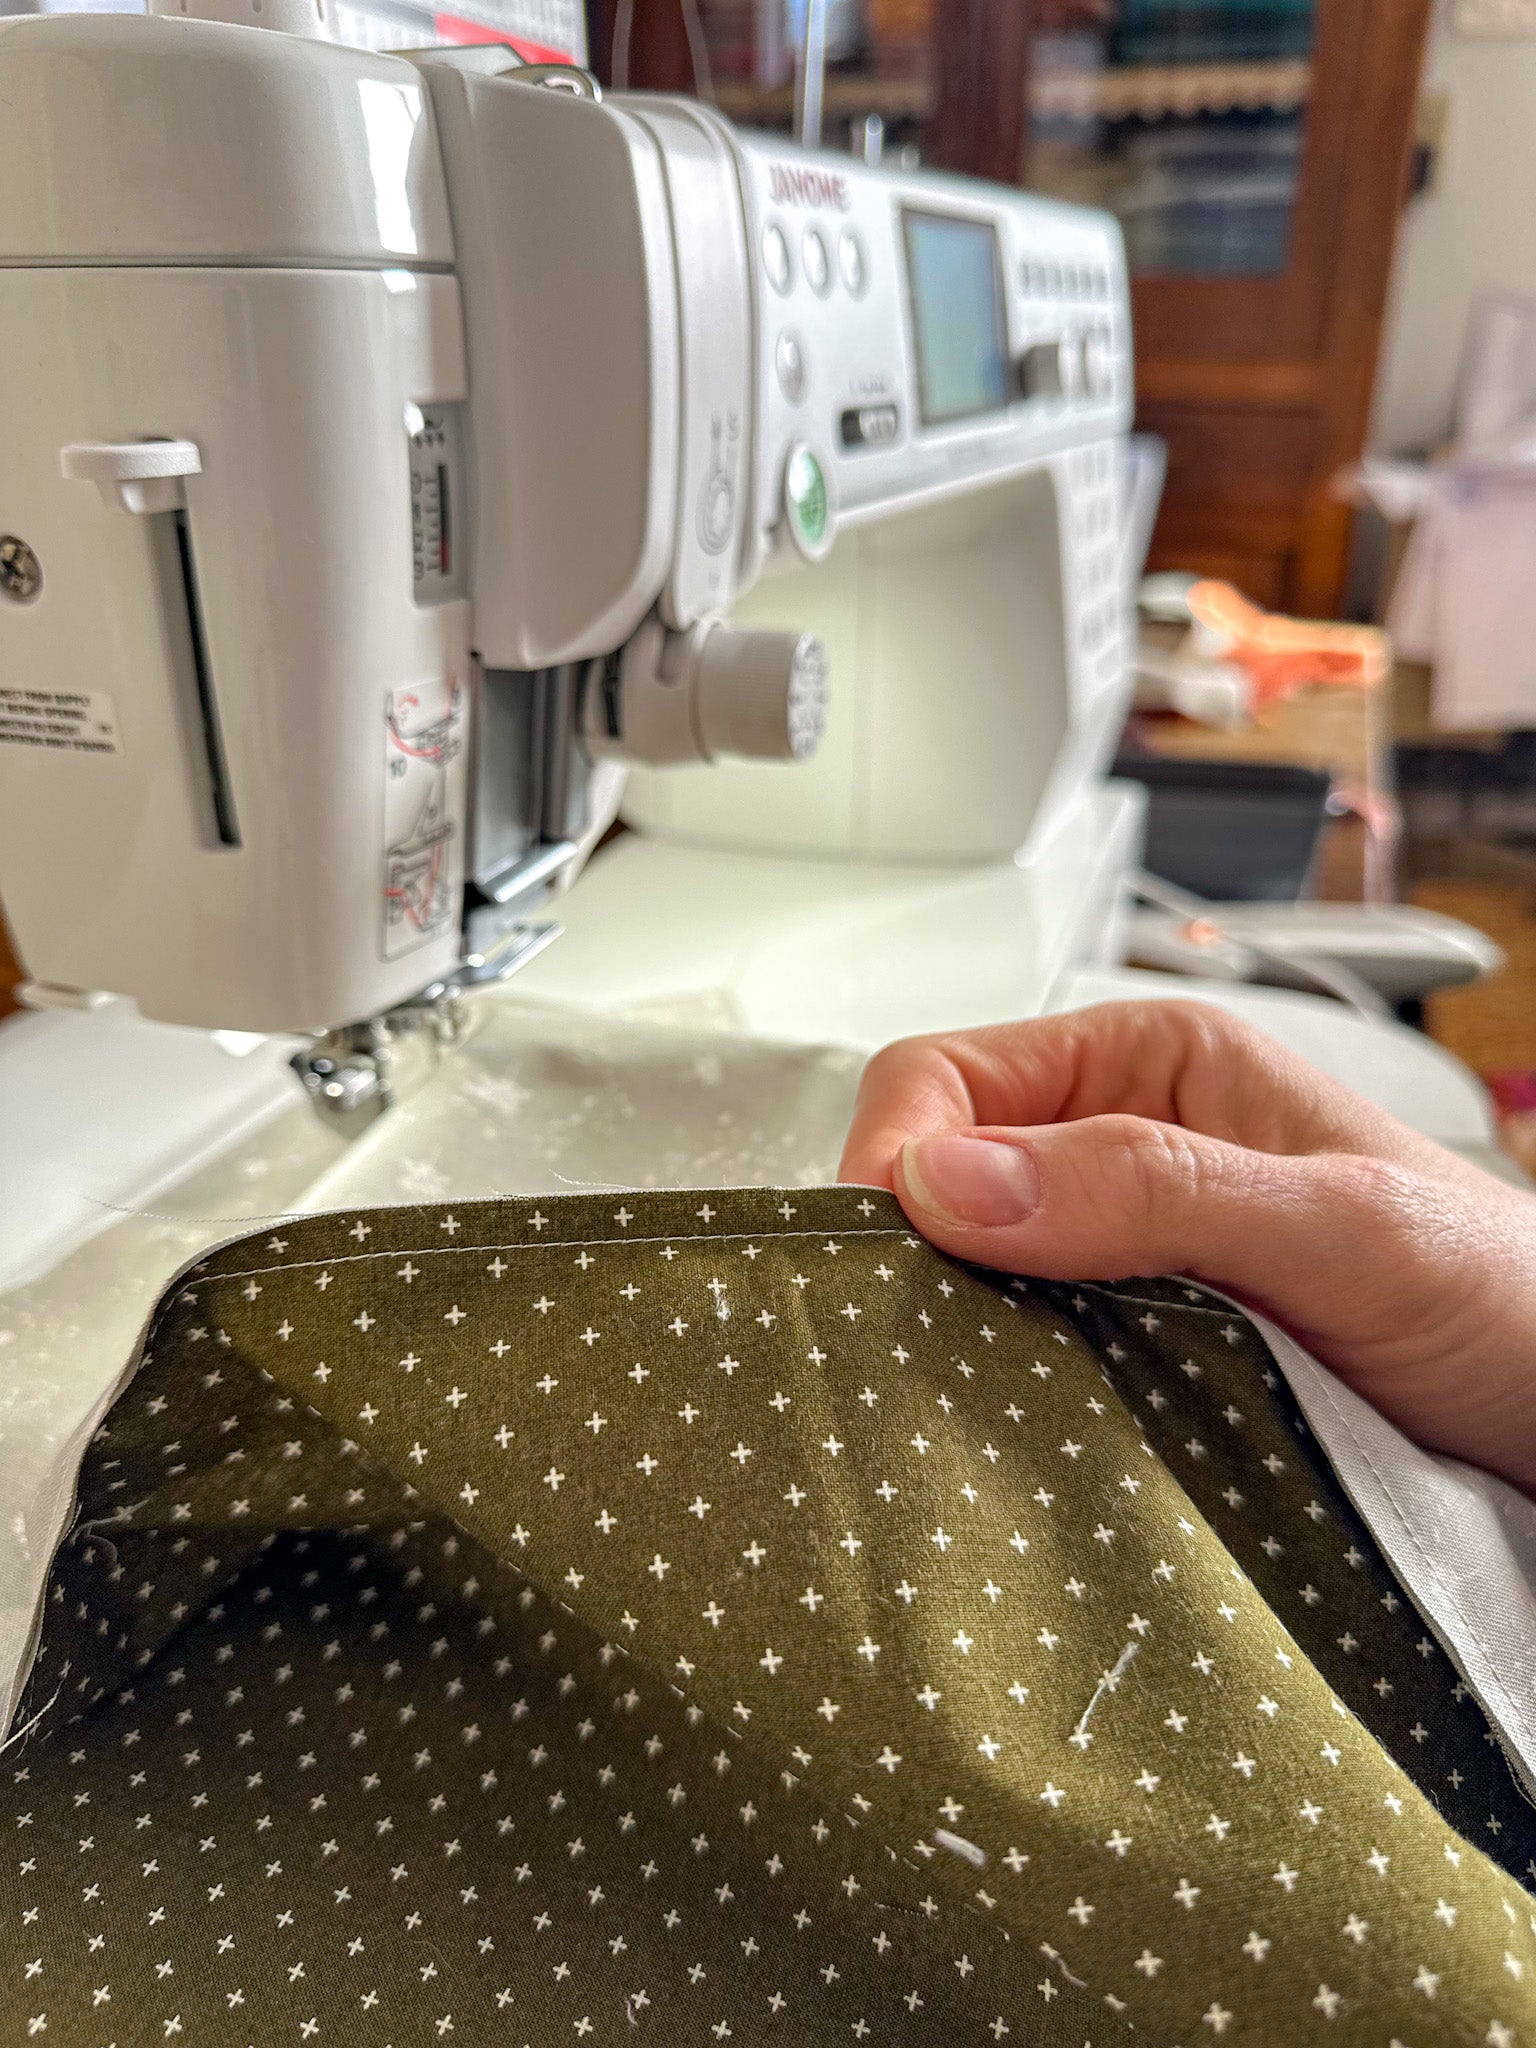
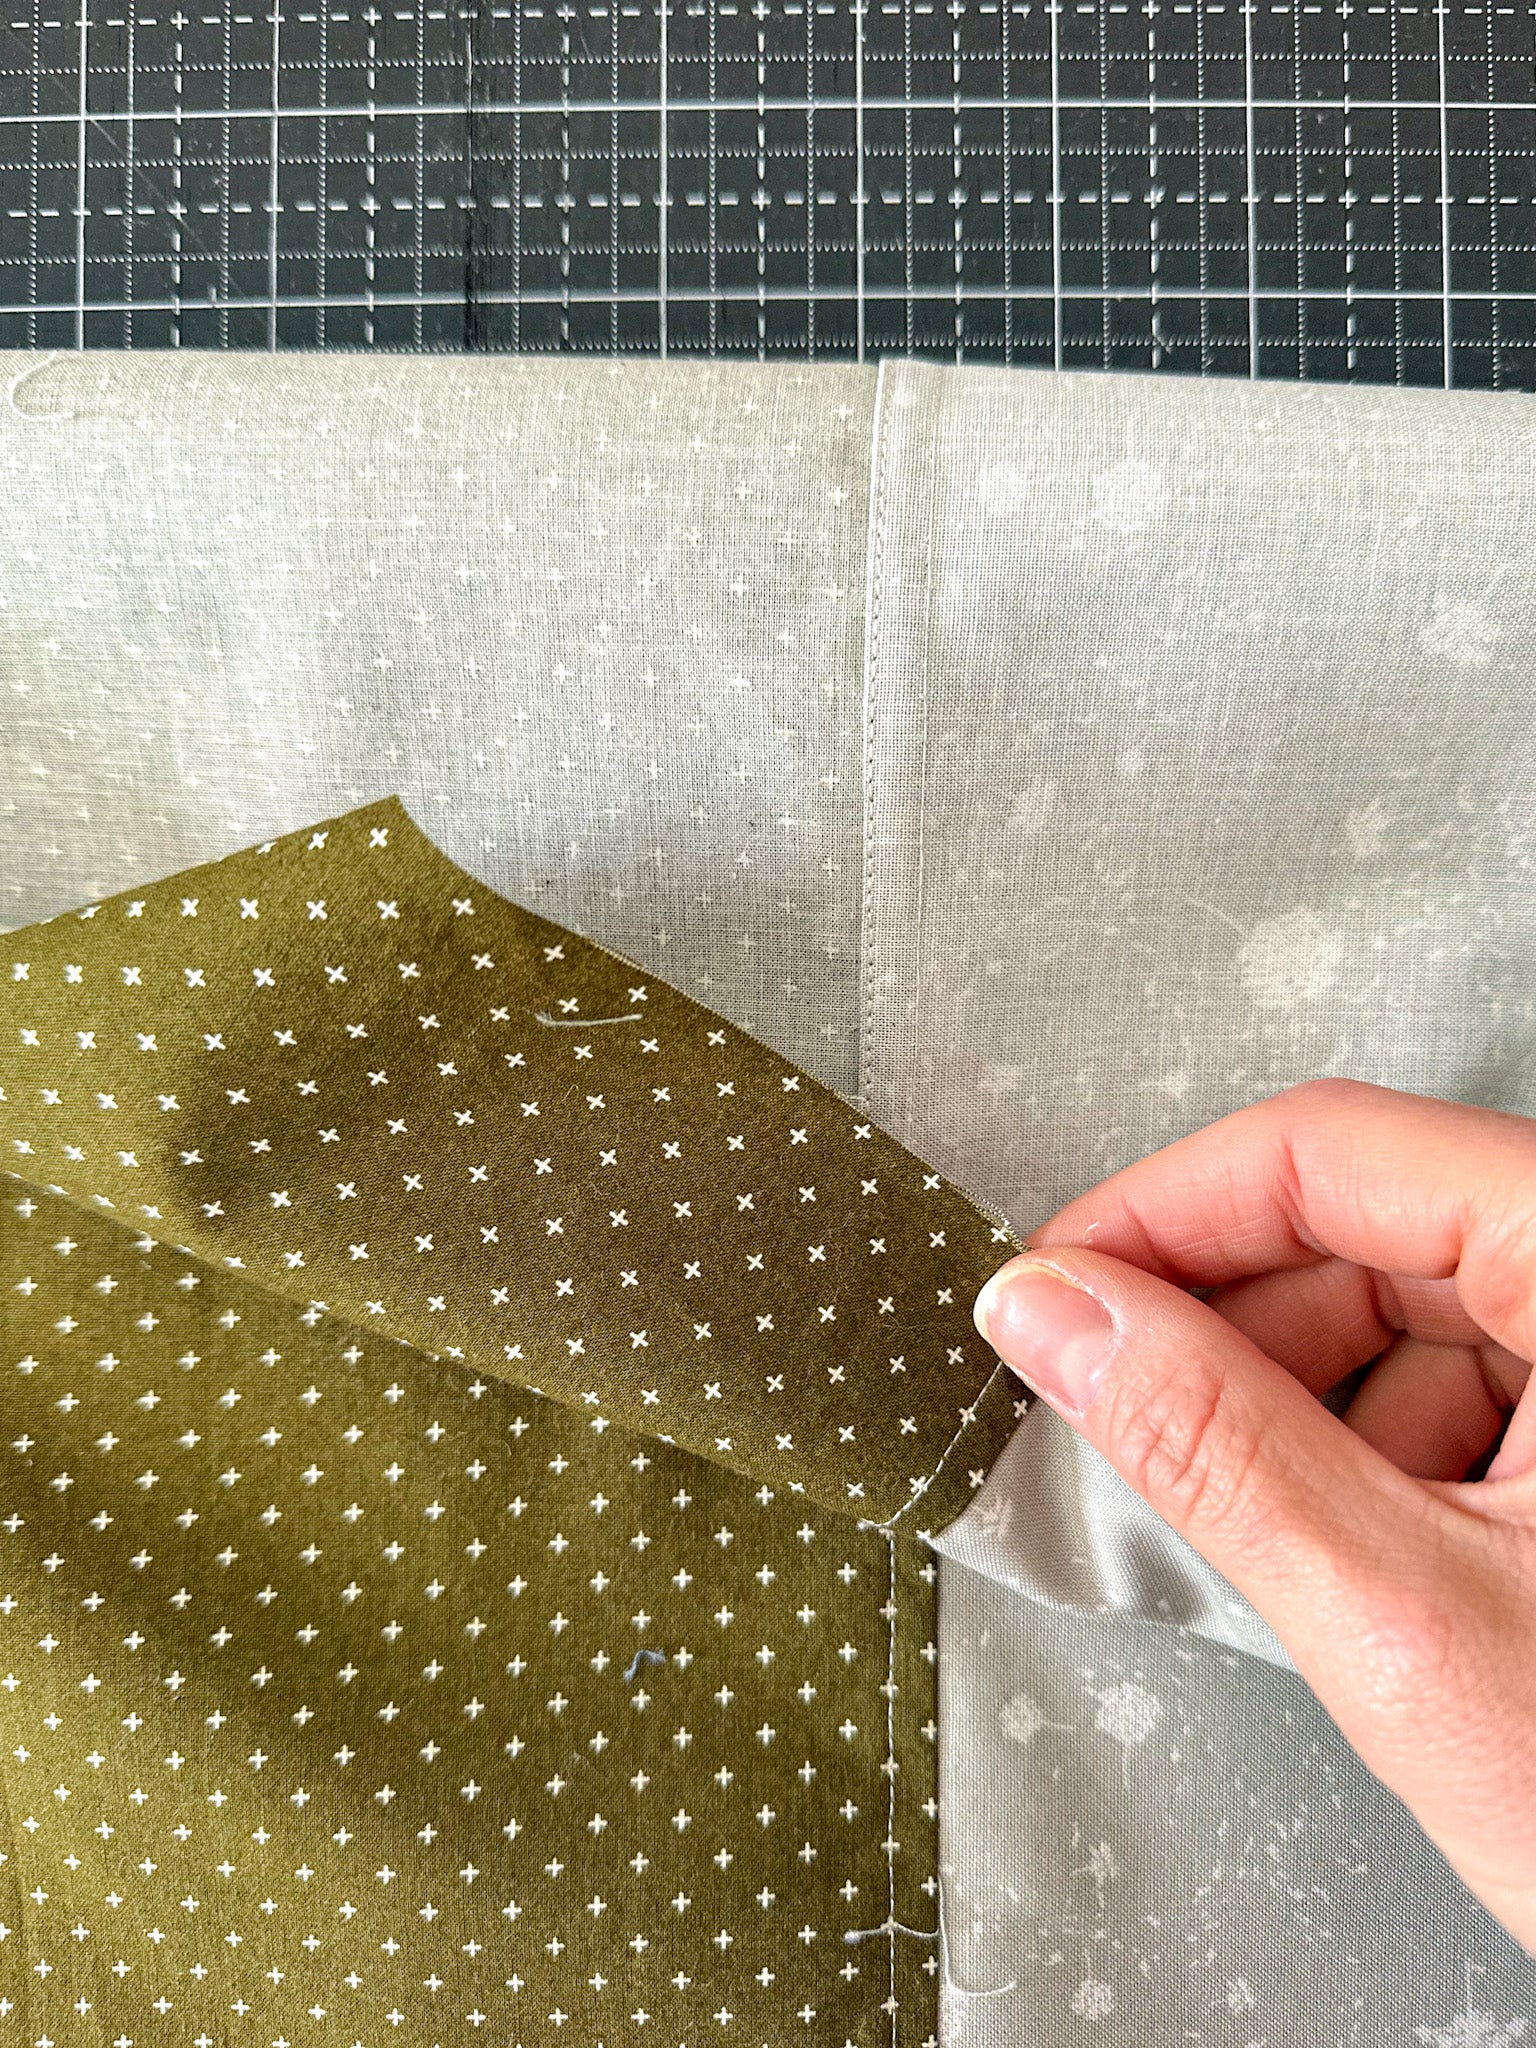
- Turn the Fabric Inside Out: Flip your fabric so that the wrong sides are now facing out. This step is what makes the French seam unique – it encloses the raw edge, giving it a professional finish.
- Fold the Fabric to Enclose the Raw Edge: Fold the fabric along the seam, encasing the raw edges inside the fold. The raw edges should be completely hidden within the fold of the fabric.
- Press the Fold: Press the seam flat to ensure it stays in place.
- Pin the Fold: Pin or clip the fold in place to keep the fabric secure while you sew.
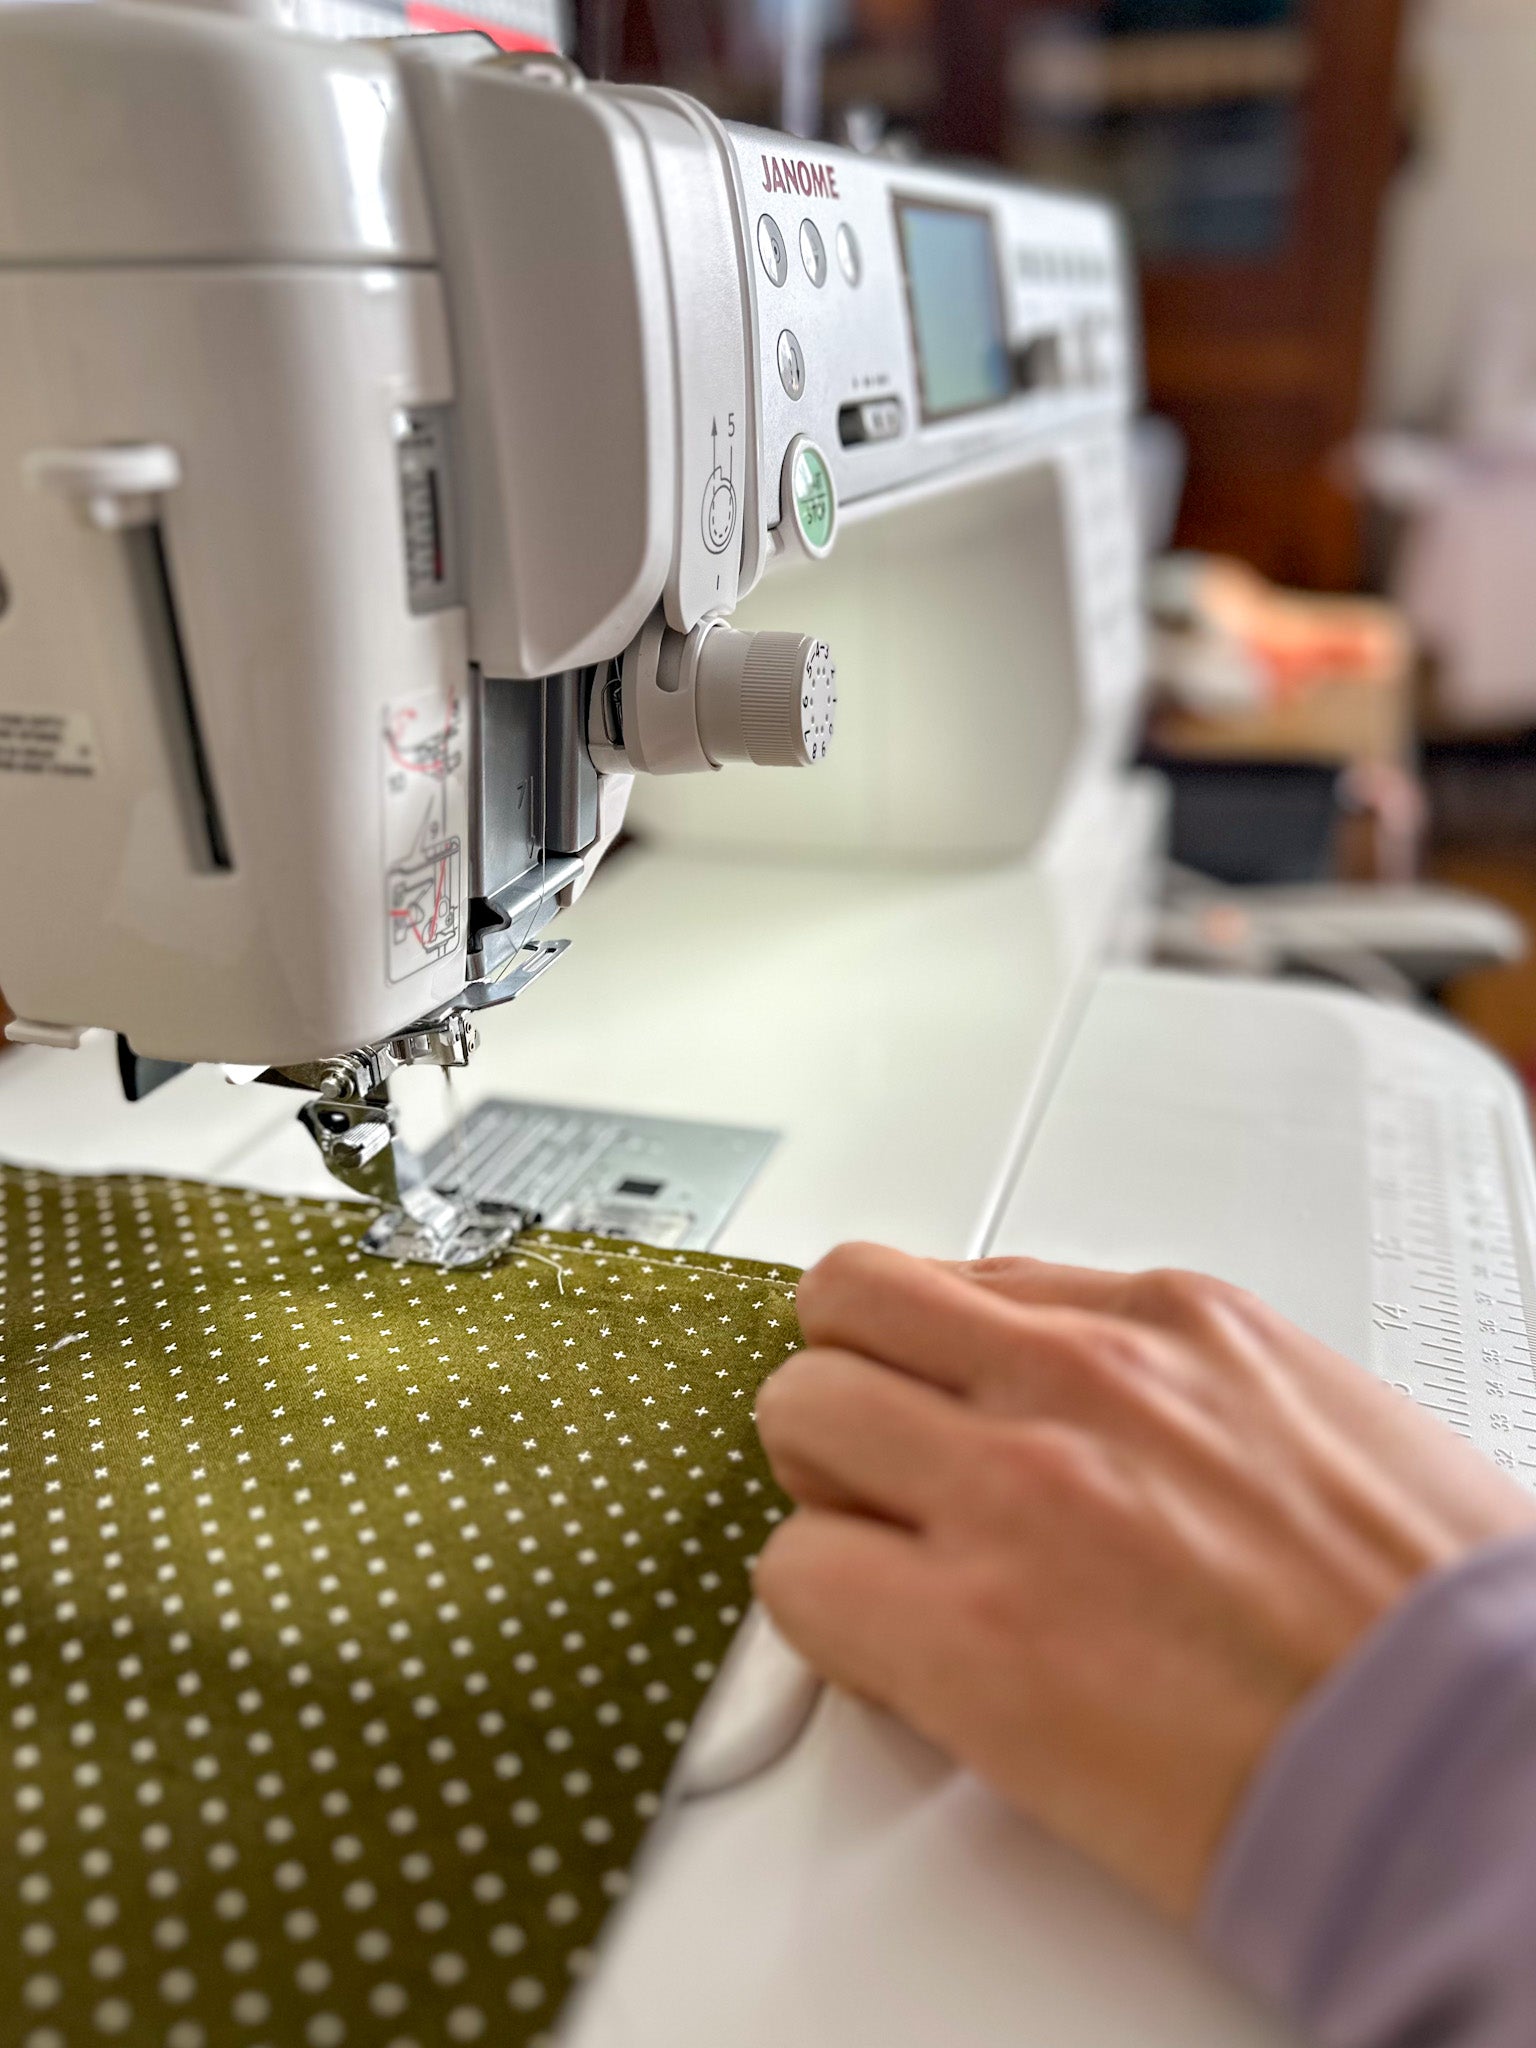
Step 4: Sew the Final Seam
- Stitch the Second Seam: Sew a second seam along the original seam line. This second seam should be neat and straight, encasing the trimmed edges from the first seam inside the fabric.
- Press the Seam Again: Press the finished seam flat with your iron. This will give the French seam its final crisp, clean appearance.
Step 5: Final Touches
- Inspect the Inside: Flip your fabric to check the inside. You should see a beautifully neat, enclosed seam—no raw edges in sight!
- Press for a Polished Look: A final press gives everything that clean, finished look we all love.
- OPTIONAL: Stitch the encasing down so it lays flat.
Pro Tips for Success
- Go Easy on the Seam Allowance: If you’re working with lightweight fabrics, try a narrower seam allowance (around ⅛ inch) to keep things nice and light.
- Practice Makes Perfect: If you’re new to French seams, practice on a scrap piece of fabric first—it’s always nice to have a dry run!
- Take Your Time: French seams take a little patience, but trust me, it’s worth it for that super sleek finish!
Avoid These Common Mistakes
- Not Trimming Enough: If you don’t trim your first seam, your French seam may end up too bulky. Trim it down so everything fits nicely when you fold.
- Forgetting to Press: Pressing is key! It helps everything lie flat and look professional.
- Too Much Seam Allowance: If you make the seam allowance too wide, the finished French seam may be bulky. Stick to the recommended allowances for a sleek finish.
Wrapping Up
Congratulations, you’ve just mastered French seams! ✨ With this technique, you’ll be able to add a gorgeous, clean finish to your sewing projects that will make them look more professional and stand the test of time. Plus, French seams are perfect for those delicate fabrics you’ve been eyeing!
What’s Next?
I can’t wait to see your creations! Share your French seam masterpieces on social media and tag me—I’d love to see how they turn out! And if you want more sewing tips and tricks, make sure to subscribe for more tutorials!
Tag me in yo!ur finished projects (@wellspringdesigns_co) so I can see them. As always, if you have questions or comments, feel free to email me at wellspringdesigns@gmail.com, or comment on this blog post. I love chatting quilting with you guys!
Happy sewing!